How to photograph mountains
Published: 11.08.2020

In the mountains, your hand automatically reaches for a camera or smartphone to capture the pristine beauty. If you don't know how to capture the grandeur and eternity in your lens, read our tips on how to photograph mountains.
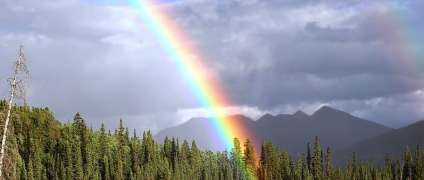
The endless ridges and sharp peaks of the mountains provide endless opportunities for a photographer. Mountains are a magical place where all colors and shades have found their place. Clothed in cascading waterfalls or painted with rainbows, they deserve to be captured in a frame. The beauty of the mountains is impossible to describe in words. Photography is the only way to convey the majesty of nature's creation.
Our mountain photography tips will help expand your skills, increase creativity, and allow you to see the mountains in a different light.
For mountain photography, a complex foreground is not necessary. Mountains as a background for a simple foreground are always a perfect choice. The foreground can be a bunch of tall grass in the summer, colorful wildflowers in the spring, icy lake edges in the autumn, and icy rocks in the winter.
When choosing a foreground, look for color contrast, leading lines, or repeating patterns. These simple compositional elements work great in any type of photography.
To create sharpness to all elements in the frame, from the nearest to the farthest, use focus stacking.
Create a Light album from cool photos. You don't need to print the photos separately for this. We will print your photos directly on the pages of the Light album. Upload your images to the free editor Mapi7 and create a themed Light album. You can upload photos from your phone.
Give meaning to the foreground. Don't just include something in the frame. Make sure that everything in the frame helps to tell the story. This way, you create a cohesive scene.
Important! If something in the frame distracts, it means it is not related to the current scene. Feel free to eliminate this element from the plot.
2. Watch the edges of the frame
Feel the breath of the mountains. Capture the emotions that emanate from them. Treat the mountains as if they were people. Keep the peaks of the mountains within the frame. Consider what you are doing.portrait photographyAnd spades - that's the head.
An important question is how much space should be above the mountain and between the edge of the photograph. It all depends on whether there are clouds in the sky and what time you are shooting. If you are taking photos on a clear sunny day, minimize the cloudless sky (negative space) above the mountains. Leave about a quarter of the frame empty.
If there are beautiful clouds overhead, use them in your frame. The same applies to night photography. Allocate at least one third of the frame for clouds and starry skies. Magnificent shots of mountains and the sky will look great onPhoto on canvasorcalendar.
Make sure that the mountain slopes either descend beyond the frame or, if possible, converge inside. This visual effect helps direct the viewer's eye towards the center of the frame. But if you can't arrange the composition this way, don't drive yourself crazy about it.
When you learn to capture sunrise or sunset in such conditions, try using a longer focal length to detail the elements. It will help to give a dramatic effect to the mountains in the photo.monochrome shootingorSepia effect.
Just don't include a person in the frame just because they are wearing a red jacket. Make sure you have added them to the scene with intention. To do this:
- Place the person in such a way that he is clearly visible.
- Create a color contrast (this is the right thought about the red puffer jacket). Bright colors do a great job.
- Ask the subject to stand or sit naturally. So that the person on stage does not look like a shapeless pile of clothes.
- Make sure to place the subject as far away from the camera as possible. When people are close to the lens, they appear larger, and the sense of scale of the mountains disappears. Position the model at a distance of several tens of meters. This creates a more balanced scene.
Increasing the visible height of mountains can be achieved using wide-angle distortion. This is especially relevant for vertical compositions.
Favorite photos are a reason to create photo magnets. Round, square-shaped magnets, with shaped edges or magnetic puzzles are the perfect souvenir. They don't need a shelf or album. Refrigerators, computer cases, cars, and other surfaces that are always in sight are the perfect place for magnetic photos.
5. Try bracketing
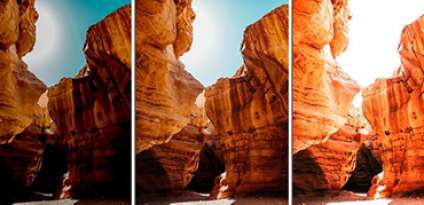
During the shooting process, you may encounter mountain shadows and bright skies. The dynamic range in some scenes will be too large for a single image. Therefore, try taking series of shots, which can consist of 3, 5, or even 9 frames. Bracketing with 3 shots is most commonly used.
Exposure can also be balanced using graduated filters. However, be careful, the transition zone of a graduated filter is linear; if any part of the mountain sticks to this area, it will be darkened, while the rest will remain bright.
Scenes in the mountains change very quickly. Even a small distance between clouds can give your scene a beautiful, but very fleeting, light flooding.
When the lighting is poor or clouds cover part of the mountain, try using longer focal lengths.
Amazing mountain photos can and should be printed. And it's best to do it right away in a Light album. A themed album about leisure and travel can hold up to 500 photos of various formats and enhance the impression of an unforgettable mountain trip.
Fill the bottom edge of the composition with a clear foreground. The minimum focusing distance from a lying position on the ground is a great way to photograph mountains in a non-standard way.
Small elements in the foreground will make the base of the mountain look more massive. And the peak will appear to be hanging over your head. Basics.Macro photographywill help you get the desired cool image.
Add emotions to mountain photography
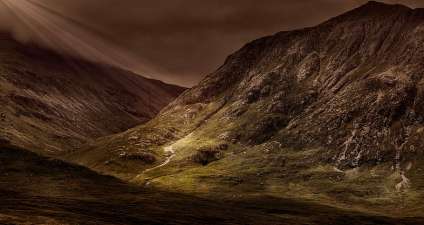
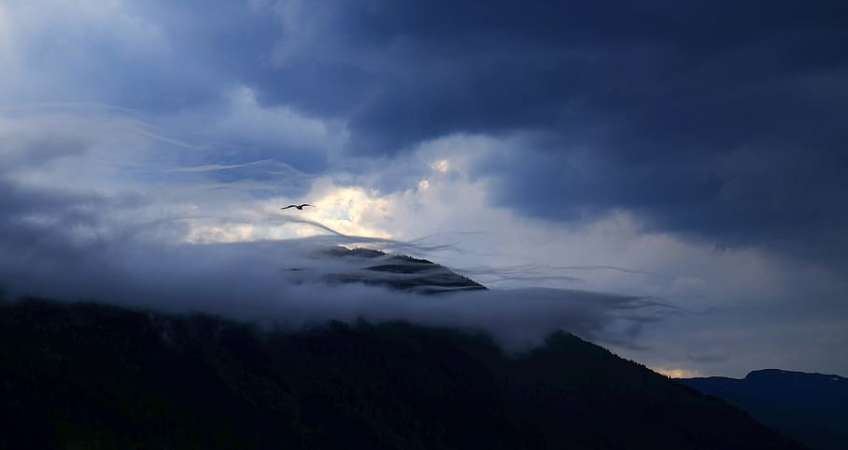
Do not miss the emotions during shooting. This is an important aspect of photography, as your art should influence the viewer. Stop and observe how the clouds interact with the mountains. Notice the glimpses of sunlight that give significance to the image. Or look at the low clouds hanging over the mountains from a different perspective. Do not be afraid of dark clouds. Low clouds strengthen the connection between the mountains and the sky. Imagine that among the swirling clouds around the sharp peaks, the Castle from the Lord of the Rings is about to appear.
Start by changing the position of the horizon. A low angle or high horizon creates a strong dramatic and even threatening impression. Placing the horizon below the center of the frame adds airiness, freshness to the landscape, but sometimes also a sense of loneliness.
The objects on the left and right are also of great importance. The object on the right makes you think about the future, while the one on the left - about immediate matters.
Remember that the placement of an object and psychological effects largely depend on the target audience. We read from left to right, but in parts of the world where it's the opposite, your image can evoke different emotions.
Ask yourself - what do you feel when looking at the image. Your emotions influence the final result. Do not hesitate to capture the sensations, feelings that come from the mountains. Photograph barely noticeable moments and be sure to show the pictures to the viewers.

