Vintage-style photo - sepia effect
Published: 02.06.2020
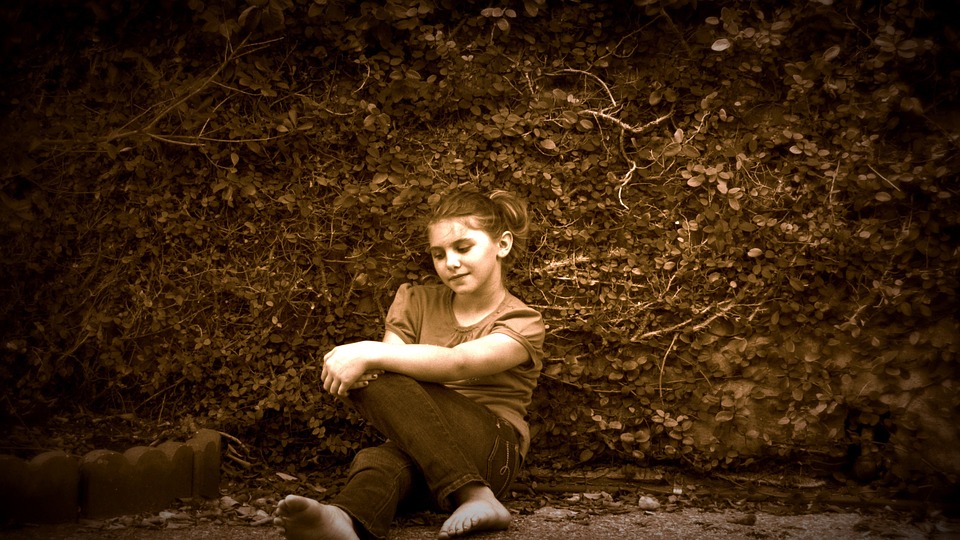
Many have noticed photos with modern models and plots that look like they are from the past. The soft brown tones of the photo are confusing. It is unclear when the photo was taken and how the object was transported through time.
Do you want to take cool vintage photos? Then, meet: the pleasant brownish color, like dry leaves, is sepia. The vintage effect in photography.
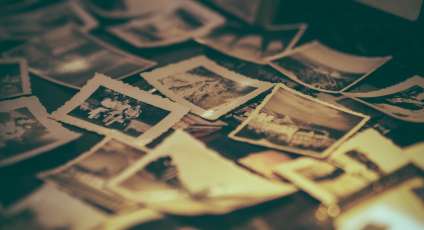
In the days of black and white photographs, photographers tried to add various effects to their images. One such method was using sepia ink made from cuttlefish. Sepia was mixed with reagents. By adjusting the proportions, photographers could add intensity to the coloring. The sepia tone palette ranged from soft to deep. In addition to giving the photo a warm hue, it also made it more durable.
Therefore, most old photos that have survived to this day are in shades of brown. Their longevity is owed to sepia.
In the times of black and white photographs, photographers tried to add different effects to their photos. One such method was using sepia ink made from cuttlefish. Sepia was mixed with reagents. By adjusting the proportions, photographers added intensity to the color. The sepia tone palette ranged from soft to deep. In addition to giving the photo a warm hue, it also made it more durable. That's why most old photos that have survived to this day are in shades of brown. There are now many differentways of storing photosAnd old photographs owe their life to sepia.
Classic sepia processing has become outdated. Today, we can give a photo different colors and shades in various ways. However, sepia itself does not lose its attractiveness. And modern methods simplify the process of creating an 'antique' effect on a photo.
Of course, no one prohibits creating nostalgic photos using chemical reactions. The old-fashioned way. But we suggest a much simpler approach. To achieve a vintage style, use special filters, apply a special shooting mode, or edit the images in a graphic editor.
Color correction filters help to age a photograph. The image looks tinted with a brown color. There are two types of Sepia filters: Euro and Retro. Retro Sepia gives a more pronounced vintage effect. The type of the filter is always indicated on the edge of the filter.
When using any Sepia filter, remember that simply putting it on the lens is not enough. You should consider the characteristics of colors and shades. For example, in a sepia photo, many colors blend into one. Therefore, it is important to note that in the image, you can only adjust the depth of the light brown shade.
Using sepia color correction filters is best during shooting portraits, interiors, and studio photo sessions.
If you are using Sepia filters, increase the exposure by two levels.
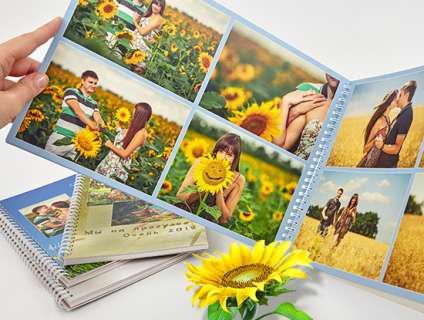
Create a Light album from cool photos. You don't need to print the photos separately. We will print your photos directly on the pages of the Light album. Upload images to the free Mapi7 editor and create a themed Light album. You can upload photos from your phone.
Color correction filters are more suitable for professional photographers. For hobbyists and those who want to master vintage style in photography, it is better to use a vintage photo mode.
It is important to set the "Sepia" mode before taking a photo. What you see through the lens will correspond to the selected setting.
Sepia in Lightroom
With photo post-processing, amateurs find it much easier to control the sepia effect. Lightroom is one of the graphic editors that allows you to give photos an antique style with just a few clicks.
Before starting to edit your image, create a copy inside the editor. This way you can duplicate the original file and not worry if something goes wrong. Creating a copy will free up space on your disk or flash drive. And any edits you make to the original will always be at your fingertips.
When you have several versions of the original image, compare them and choose the best one. Next, create a black and white copy. Apply the sepia effect to it.
The sepia effect looks great on photos with contrast. It is best to convert images into a vintage style that have not only black, but also very bright, contrasting colors. Images with halftones in sepia mode look poor.
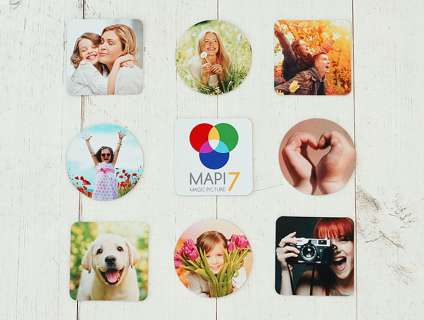
Favorite photos are a reason to create photo magnets. Round, square-shaped magnets, with shaped edges or magnetic puzzles - an ideal souvenir. They don't need a shelf or album. Refrigerators, computer cases, cars, and other surfaces that are always visible - the perfect place for magnetic photos.
On the "Split Toning" panel, adjust the tones and highlights in the image using the sliders. You can also use these settings to add intensity to shadows and highlights.
Using the Balance slider, connect shadows and highlights. Sliding to the left increases the intensity of shadows. Sliding to the right enhances the colors of the highlights. With the Brush tool, you can highlight textures and enhance the sharpness of the image.
That's it. Your sepia is ready! The most interesting thing is that you only need to go through all these steps once. And then save the sepia settings in presets. Agree, it's cool to have your own sepia preset.
Sepia in Photoshop
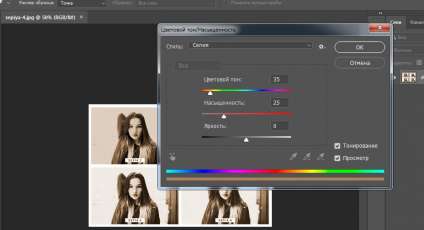
In regular Photoshop, it is also easy and simple to achieve a sepia effect. The easiest way is to upload the image and apply the Sepia preset to it. The path to the preset is: Image - Adjustment - Hue/Saturation. By applying this preset, you will get a vintage-style toned photograph. If this is not enough for you, go to the Photo Filter and adjust the toning.
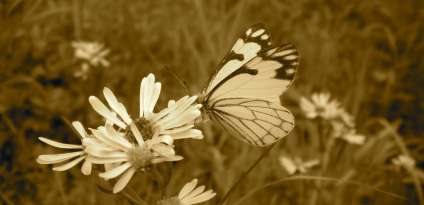
Misty, warm, and slightly sentimental photos with a sepia tone enhance the image. Adding this effect makes the picture more vintage and romantic. Apply sepia to your images and see how it works. Trust me, you won't regret spending time learning and applying this old-fashioned effect in practice.
Do not keep the results of your work on a disk or flash drive. There are many ways to showcase your work. Read on,What can photos be printed on?As a gift or for yourself. But the best option is -Create an album LightWith amazing vintage photos)

