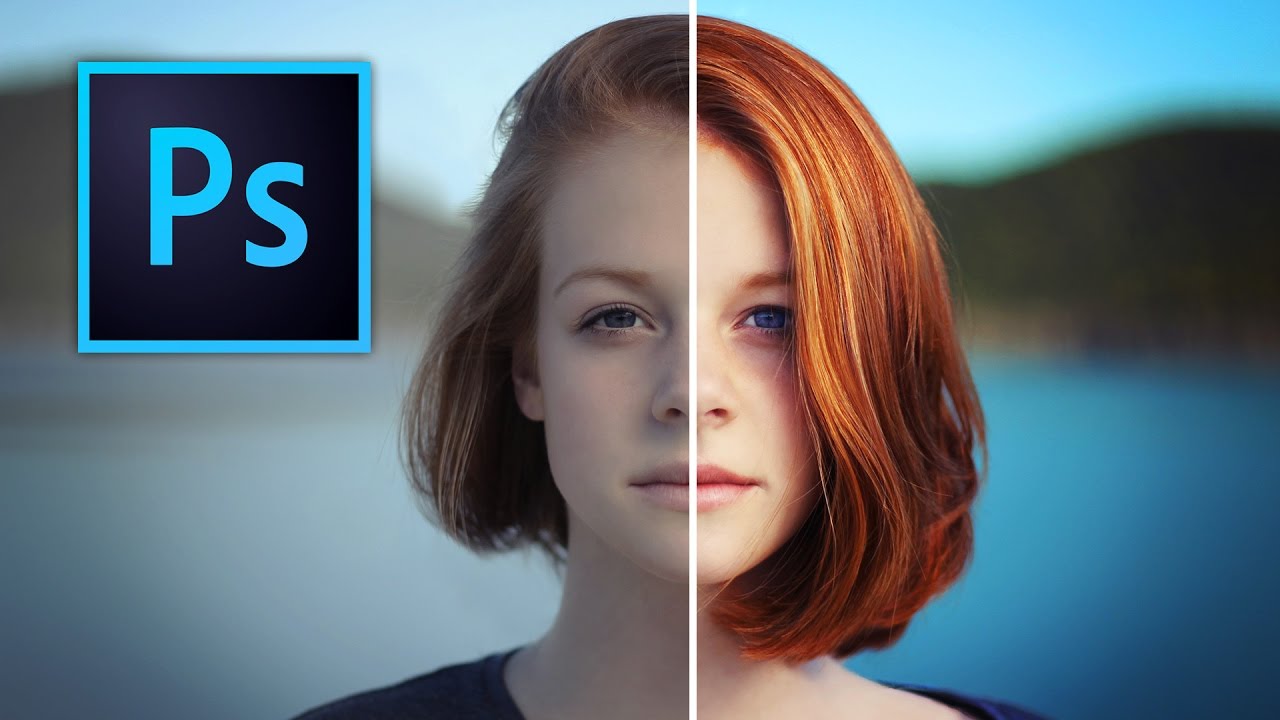
How to improve the sharpness of a photo. 3 ways to increase sharpness
Published: 21.02.2022

When talking about ways to enhance the sharpness of a photograph, let's first briefly consider the concept of "sharpness". This will allow us to correctly define the task of correction and, accordingly, the tools for its implementation. In simple terms, image sharpness is the degree of clarity of the boundary between different exposure areas of a photo image. As a criterion of sharpness, one can use such a descriptive criterion as "detail distinguishability in a photograph". The sharpness of an image obtained during photography is determined by the resolving power of the optics and edge sharpness. An additional factor is the anti-aliasing filter, often used on modern sensors, which, despite its usefulness, slightly blurs the resulting image. Sharpness is perceived by the eye as the degree of contrast on the edges. Accordingly, sharpening algorithms darken the edges in dark areas of the image and lighten them in bright areas, making the picture subjectively sharper.
Here is another important aspect, no less important than the degree of "sharpness in a vacuum" - the assessment of the composition and plot of the photograph in terms of meaningful visual accents. Based on this evaluation, a decision is made to increase (or even decrease) the sharpness of the corresponding planes/elements of the image. Here, we creatively use such an important parameter as "depth of field". To simplify, this depth is the distance between the closest and farthest objects that are in focus.
In particular, "softness" can retouch, remove unnecessary, secondary details of meaning. Also, less sharpness of moving objects (their background) also adds naturalness to the image and is less likely to be a disadvantage.
When using Photoshop, we can identify three most popular ways of sharpening correction.
First of all, there is the "Smart Sharpen" filter. To use it, create a layer (name it something like "Sharp" or "Sharpness"), transform it into a smart object, and then manually adjust the settings of the filter. Don't forget about the additional options for removing different types of blurriness.
To work with individual elements/areas of the image, we create a mask on the working layer, invert it, and then apply a white brush with the appropriate hardness and size to meet our needs. When correcting multiple areas in different directions, we create a copy of the layer and repeat the procedure.
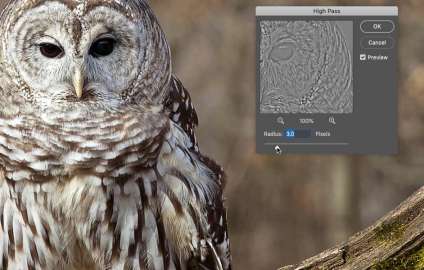
The second method is working with the "High Pass" tool. After creating a layer, determine the radius of influence - it is recommended to stay within 2 pixels. Then, use the overlay blending mode with appropriate parameter adjustments. The method of working with individual parts of the image is similar to the first method. The advantage is a generally smaller amount of artifacts compared to using "smart" sharpening.
The third, most advanced method is the use of different blending modes. We also create a copy of the layer, then through the image correction menu, select the "desaturate" option. Transform the desaturated layer into a smart object, apply the "overlay" blending mode. Then apply the known correction algorithm using High Pass, also adjusting specific areas using a white brush.
And regardless of the chosen method of sharpening correction, it is necessary to remember to use the appropriate tools very carefully. "Oversharpening" is a quite common phenomenon that does not add naturalness or artistic value to images. Also, we should not forget that filters such as "Sharpness", "Sharpness on edges", "Increase sharpness" are automatic and do not allow for user adjustment of parameters.
In addition to "caution with sharpness", remember about the optimal algorithm for overall correction of your image. Working with sharpness should be done almost at the very end of the editing process, after all other corrections have been made. When working with layers, this is the final layer where we combine all previous correction layers.
Cool photos deserve unusual framing. Print your cool photos in a polaroid style. Fans of instant photography from the 90s may experience familiar feelings when holding a photo in a Polaroid style. For those unfamiliar with traditional polaroids, square images with space for captions will be to their liking.
In addition to professional software solutions, if you need to work on the sharpness of your photos, you can of course use free alternatives. There is a wide range of online, desktop, and mobile applications to choose from.
And no matter which program you use, don't forget about another parameter that directly affects the subjective perception of the result obtained - the characteristics and settings of your monitor. Remember that liquid crystal monitors provide a sharper image than CRT monitors. At the same time, much also depends on the resolution of the monitor being used. Users often adjust the "native" settings, which can affect the sharpness of the image.


