Shooting modes
Published: 05.01.2021
During a photoshoot, there is a need to use different settings. Setting the ISO, aperture, and shutter speed is not difficult when you know the shooting modes. We will tell you what modes exist and how to manually adjust the camera for great photos.
Shooting in manual mode is a big step for those who love photography. It may be tempting to allow the camera to automatically handle important exposure settings such as ISO, aperture (F-stop), and shutter speed. However, ultimately, you need to take control of the mechanism. Shooting in automatic mode may not always result in the best image.
So, let's figure out which mode and how to take better photos.
Which mode is best for taking photos?
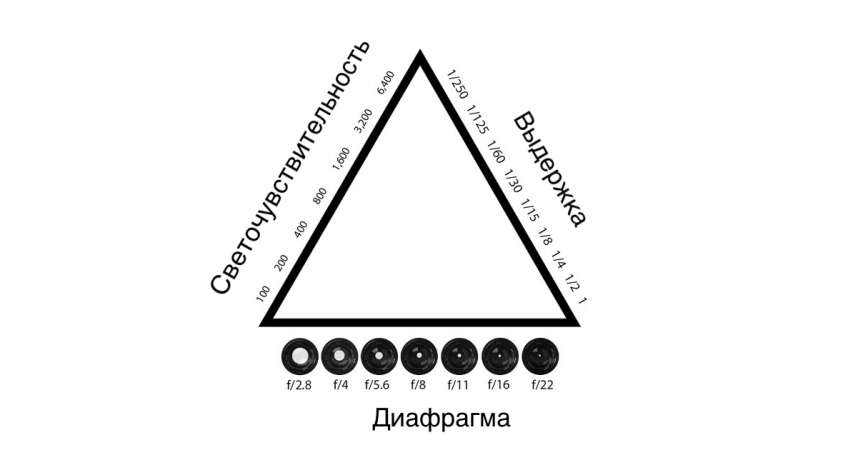
ISO, aperture, and shutter speed are important manual camera settings for photography.
Use the lowest possible ISO value to minimize noise. Set up the camera on a tripod and look at your subject after the lighting has been set up. Start with the minimum ISO value and gradually increase it until the subject is well-lit.
In cloudy weather or in the evening, it is necessary to increase the ISO to get a clear picture.
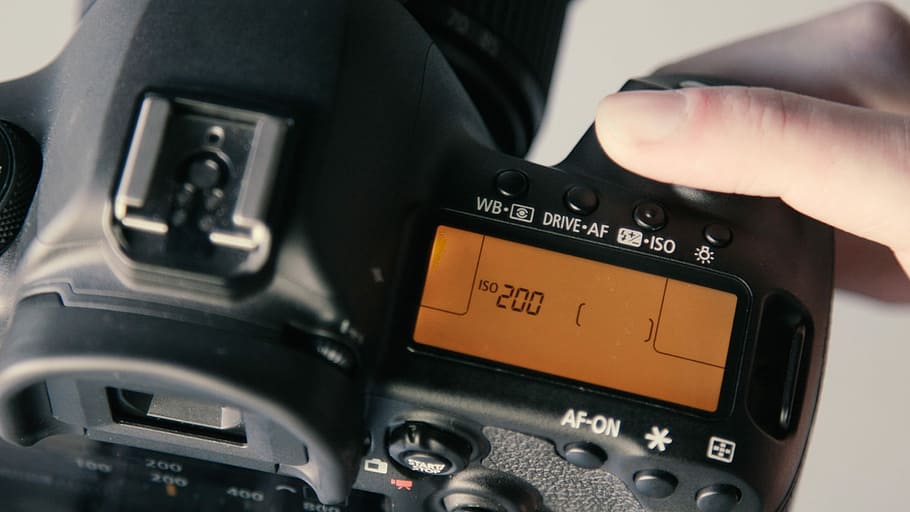
ISO measures the sensitivity of the image sensor that captures your image. As ISO increases, so does the graininess. The higher the ISO value, the more graininess or noise we see in the image. When photographing a subject, start with the lowest possible ISO value (e.g. ISO 100), and then increase as needed.
Diaphragm: maximum high
The diaphragm works like the pupil of the eye: it controls the amount of light passing through the lens into the camera. It also determines the depth of field of your image. Depth of field is the area of the frame that is in focus, and it has important aesthetic consequences.
The diaphragm is measured using a system known as F-stops, and it usually ranges from F1 to F22. The smaller the number, the more light enters the camera and the shorter the exposure can be. Lower F-stop values create a shallow depth of field, allowing to focus on specific details, while the focus falls off and blurs around the focal point.
If you need high-quality images of an object, for example,goods for sale, you need to set the ISO, aperture, and shutter speed yourself.
Blur is not a problem when the camera is mounted on a tripod and the light is stable. But when you are trying to highlight a detail, such as a strand of hair on a model's face or a buckle on a belt you are selling, use a smaller aperture to draw attention to the focal point. In any other case, aim for the entire object to be fully focused.
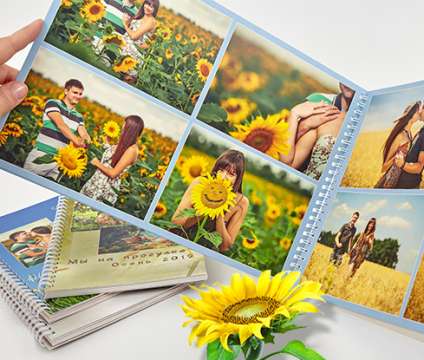
Any photos are a reason to create a Portfolio. You don't need to print photos separately for this. We will print your photos directly on the pages of the Light album. Upload images to the free Mapi7 editor and create a themed Light album. You can upload photos from your phone.
Shutter speed: slow and steady
Exposure setting determines the amount of time during which the camera sensor is exposed to light when taking a photograph. In simpler terms, it is how quickly your shutters open and close. The higher the shutter speed, the more the subject is frozen in place, while lower speeds create motion blur.
For landscape, sports, and nature photography, shutter speed is extremely important from an aesthetic point of view. This is because the images contain moving objects. A low shutter speed is ideal for photographing products when the camera is mounted on a tripod and you are capturing a still object. Low shutter speed is also indispensable when it comes to what mode you are shooting in.photographing children.
When using a tripod in the studio, use a low setting, for example, 1/13, to direct more light into the camera. Take a light meter to determine the exact setting, adjusting the exposure to zero.
In product photography, the subject being photographed is always stationary, and the camera is on a tripod. Because of this, we don't need to worry too much about image blur or camera shake. Therefore, we can use a low shutter speed to create extremely sharp images.
If you are shooting a model, you need to increase the shutter speed to compensate for movement. If you have to hold the camera by hand, a shutter speed of less than 1/60 second will be too slow to avoid motion blur, even with compensation from a good built-in image stabilizer. So stick above that threshold.
Camera mode: manual
An automatic camera is great. It does everything possible and sets the aperture, ISO, and shutter speed on its own. Essentially, this turns the camera into a more intelligent "point and shoot" system. Cameras usually offer a lot of settings, but the most popular ones are manual mode, aperture priority, and automatic mode.
Aperture priority allows you to select the aperture, and then automatically adjust the ISO and shutter speed according to the chosen aperture. You may want to use this setting outdoors to quickly adjust the depth of field to draw attention to specific objects.
Manually controlling all aspects of a photo is more difficult. But if you know how to do it, it allows you to achieve the highest quality image. Modern cameras are quite smart, but if they are not set to manual mode, they will use some suboptimal automatic settings (such as flash, exposure, aperture, etc.).
Image format: RAW
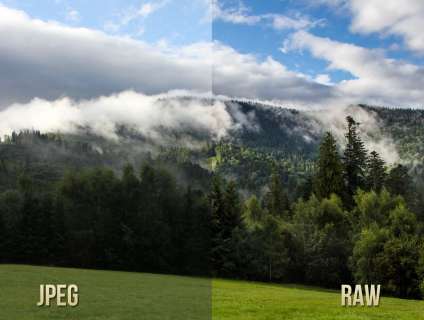
Image format is the file format that the camera uses to store images on the memory card or connected computer. If you have the option to set images in RAW format, be sure to do so. RAW files are huge (20 MB+), but they contain the highest possible quality. This gives you more flexibility for post-processing. Afterwards, you can switch to JPEG format, but first make the initial adjustments in RAW.
If you do not have the RAW option, choose the largest size and image format that the camera allows, in most cases this is JPEG.
The perfect gift or a beautiful way to showcase your photos is to order a photo calendar. Upload your photos to the template of the free editor and create a cool calendar. At the end of the year, don't throw away the calendar. Carefully cut off the calendar grid and get a photo album :)
It is extremely important to make sure that direct, harsh sunlight does not enter through the window. The ideal time for photography is in the afternoon. If for some reason direct sunlight is shining on your subject during the shoot, cover the window with a white curtain or sheet to diffuse the light. This will create a more even light in your improvised studio.
Set the "automatic white balance" setting and allow the camera to choose the best option.
Focus: automatic
When taking any photo, you want the image to look as sharp as possible. This means achieving full focus. Choose the automatic focus setting on your camera and lens so that the camera locks onto the subject and keeps it in focus. Manual focusing, unless using a tripod, can introduce some blurriness to the image.
ForStaged photosThe correct use of various shooting modes is a matter of time. For spontaneous moments - techniques. The perfect shot can happen at any moment, so it is important to learn how to navigate through the modes in order not to miss the precious moment.


