How to properly take photos with a DSLR camera
Published: 02.03.2021
If you have bought your first DSLR camera and are looking for simple ways to improve your photography skills, the following tips will help you take photos with a DSLR camera without any problems.
20 essential photography tips for beginners
1. Learn how to hold the camera correctly.
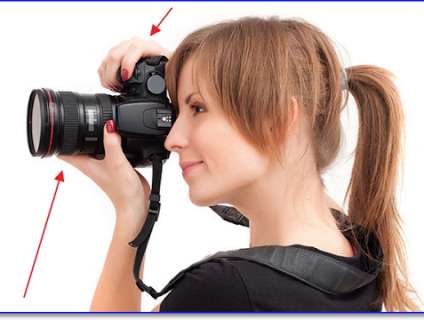
Many photographers who start shooting with a DSLR camera incorrectly hold the camera, which causes shaking and blurring of images. Tripods are the best way to prevent camera shake. If you are shooting without a tripod, always hold the camera with both hands. Grip the right side of the camera with your right hand and place your left hand under the lens to support the weight of the camera.
2. Start shooting in RAW.
RAW is a file format that captures all image data without compressing it (unlike jpeg). You get high-quality images and much more control over post-processing. The downside of RAW is the large file size.
ISO regulates the camera's sensitivity to light. A low ISO value means that the camera will be less sensitive to light, while a higher ISO value means that the camera will be more sensitive to light. Image quality will decrease as ISO is increased. Setting ISO from 100 to 200 is usually ideal for shooting outdoors during the day, while in low light conditions, a higher ISO value of 400 to 800 or higher may be required.
The diaphragm is an opening in the lens that determines how much light reaches the camera sensor, as well as the depth of field. A wide diaphragm is suitable when you want to isolate the subject. A narrow one is used for group shots.
Shutter speed determines how long the shutter remains open when taking a photo. The longer it stays open, the more light reaches the camera sensor. A short shutter speed is good for freezing motion, while a longer shutter speed will blur movement. Long shutter speeds can create interesting effects, but a tripod is required.
4. Wide aperture - for portraits
If you have decided to take a portrait with a DSLR camera, your subject should be the main focus of the image. A wide aperture will keep the sharpness, smoothing out distracting elements in the background. To better understand how aperture affects your images, switch to aperture priority mode (AV or A) and try taking a few shots with different apertures.
5. Narrow aperture - for landscapes
In landscape photos, everything should be in sharp focus (from rocks in the foreground to mountains in the background). To learn how to photograph landscapes with a DSLR camera, choose a narrow aperture. (F/22 or higher, depending on the capabilities of the lens).
6. Learn how to use aperture priority mode and shutter speed priority mode.
To exit the automatic mode, a beginner can use the aperture priority mode (A or Av) and the shutter speed priority mode (S or Tv). If you are taking a portrait and want to blur the background, choose a wide aperture and let the camera determine the appropriate shutter speed. To capture a dog running towards you sharply, choose a short shutter speed.
7. Do not be afraid to increase the ISO.
Many people are afraid of high ISO values, thinking that it will lead to graininess in photos. One way to minimize noise when shooting at higher ISO values is to use a smaller aperture. Overexposing the image can also help, because if you make the bright areas darker in post-processing, it will not lead to an increase in noise.
9. Be careful with the flash.
Using the built-in flash at night or in low light conditions can lead to unpleasant effects, such as red eyes and harsh shadows. It's better to increase the ISO and get noisier photos than to use the built-in flash and completely ruin the shot. If you find yourself in a situation where you absolutely need to use flash, find the flash settings in the menu and minimize the brightness as much as possible. Or diffuse the light from the flash by attaching a piece of paper or opaque tape over the flash.
10. Adjust the white balance
White balance helps to more accurately reproduce colors. If you do not adjust the white balance, the colors in your photo may appear with a blue, orange, or green tint or "temperature". Automatic white balance works fine in some situations, but it is usually better to adjust the setting according to the type of lighting conditions in which you are shooting.
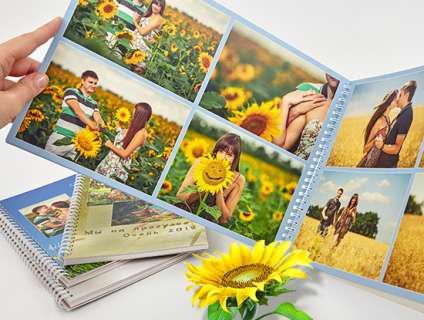
From the great photos you will surely get, create a Light album. You don't need to print the photos separately for this. We will print your photos directly on the pages of the Light album. Upload the images to the free editor Mapi7 and create a themed Light album. You can upload photos from your phone.
11. Learn how to read a histogram
The LCD screen of the camera is an unreliable way to assess exposure, as images may appear brighter or darker than they actually are. The best way to accurately check exposure during shooting is to use the camera's histogram (a small graph next to your images).
12. Play with perspective
The same scene can look completely different if approached from a different angle, and shooting an object from above or below can completely change the feeling of the photograph. When photographing animals or children, you can try to lower yourself to their level and see the world through their eyes.
13. Understand the third rule.
The rule of thirds is based on the idea that images are usually more interesting and well-balanced when they are not centered. Imagine a grid with two vertical and two horizontal lines dividing the image into nine equal parts. Some cameras even have the option of displaying this grid, which can be helpful if you are still learning about image composition.
14. Eyes always in focus
Eyes are an important feature of the face, often the first thing people look at, especially in close-up shots. The eyes of your subject should be the main focal point. Once the first eye is in focus, keep the shutter release button halfway pressed and slightly move the camera to change the composition of the photograph and include the second eye.
15. Pay attention to the background.
The background should be simple and free from distractions in order not to divert attention from the main subject. A distracting background can be hidden by using a wider aperture and getting as close to the subject as possible. Try to keep the background neutral, especially if you are placing the subject off to the side of the photograph and the background is clearly visible.
Buy a tripod
16. If you want to capture clear photos in low light without increasing the ISO too much, a tripod is an essential accessory. When buying your first tripod, consider the weight, stability, and height. Weight is important because you will be carrying the tripod with you, but it should be stable enough to support the camera and lenses you plan to use.
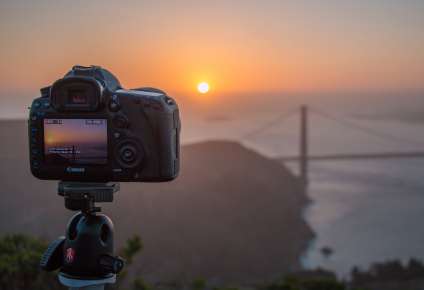
17. Capture sunrise and sunset
Early morning and evening are considered the best times for photography. The hour after sunrise or before sunset is called the 'golden hour' because the sun is lower in the sky, and the light is softer and warmer. Using the early morning or evening light can give your photos a serene quality thanks to the warm glow and long shadows cast.
18. Buy good photo editing software.
For shooting in RAW format, post-processing is necessary. Most professional photographers use programs like Adobe Photoshop or Lightroom, but if you want to start with something more affordable, you can try Photoshop Elements.
19. Be selective
Every photographer, regardless of experience and talent, gets mediocre shots. The reason for an impressive portfolio is that only the best works are showcased. If you want your work to stand out when published on social media, try narrowing it down to a couple of very good photos from each shoot.
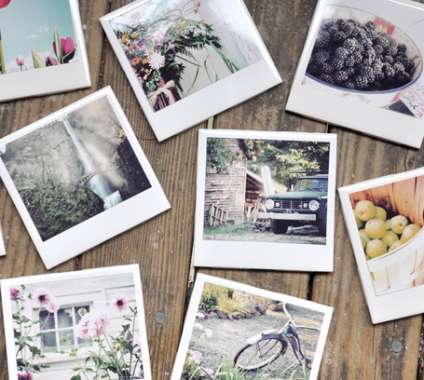
Cool photos deserve unique framing. Print your cool shots in a polaroid style. Fans of instant photography from the 90s may experience familiar feelings holding a photo in the Polaroid style. Those unfamiliar with traditional polaroids will enjoy square images with space for captions.
20. Learn from your mistakes.
Got a bad photo? Don't press the delete button right away. Take some time to study the photo to understand what went wrong and how you could improve it. In most cases, you can try a different composition or use a shorter exposure, but if you see any recurring issues, you'll have the opportunity to study specific aspects of the photo and strengthen your weaknesses.
We hope that with the help of these 20 tips you have learned more about how to take professional photos. You don't have to apply all of them at once. Choose one tip, experiment with it, and explore.
Photography is an inseparable combination of technical skills and creativity. You will be able to maximize the capabilities of your camera and create images that reflect your vision.
This post should serve as an inspiration if you want to take some truly amazing photos of your own, because the possibilities are at your fingertips. With a little practice and learning how to perfect the process, you will surely be able to take some great shots yourself!

