How to properly photograph a manicure for a portfolio
Published: 09.03.2021
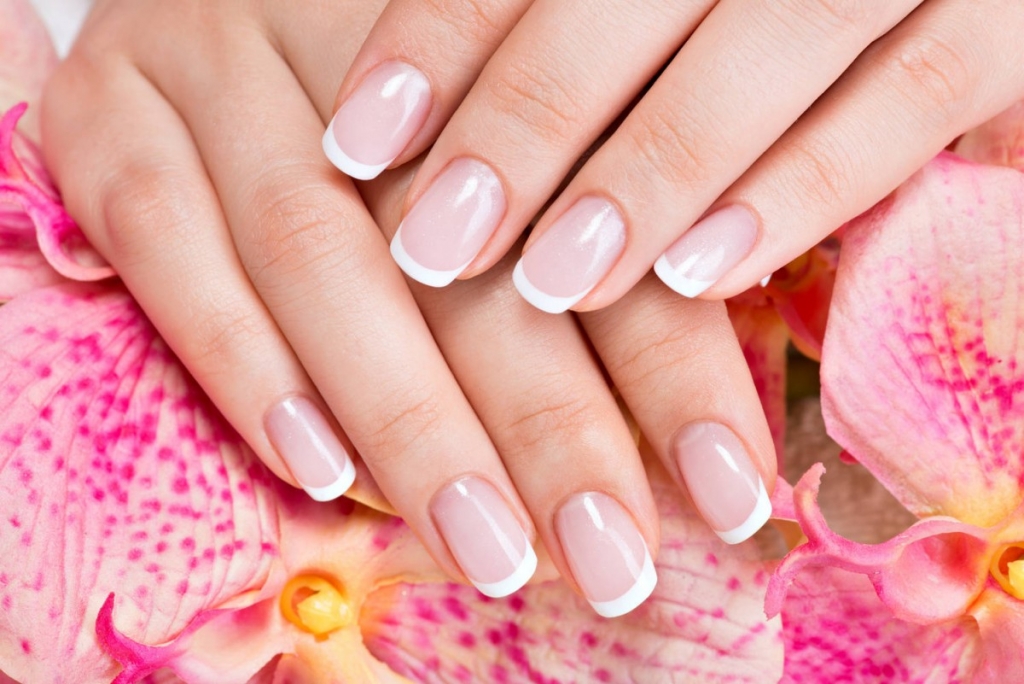
A nail technician's portfolio is their advertisement, main working tool, and a means of attracting new clients. It is not enough to complete nail courses, learn how to create original nail designs; you also need to know how to properly photograph the manicure for your portfolio. If you do not have high-quality photos and examples of your work, it will be difficult for people to judge your skills.
In the portfolio, you should showcase all your services, demonstrate manicures on different nail shapes and lengths, upload photos with various nail polish application techniques and designs. Approach creating your portfolio seriously, find your own style and uniqueness, showcase your strongest and most original works.
Let's consider techniques on how to properly photograph nails after a manicure and present your work in the most attractive way.
Lighting for nail photography
There are no universal tips on how to properly photograph hands after a manicure and what lighting is best to use. If you have a bright room on the sunny side, you can take photos in natural light. If the nail salon has closed windows, use additional sources of lighting.
It is not necessary to buy professional photo boxes, it is enough to use a powerful lamp with cold light. The lamp should be placed to the side above the hand or two lamps can be placed on either side of the hand. Do not place the light source above, as you will get extra glare and overexposed photos. Also, do not use a flash when photographing nails.
From the great photos that you will definitely get, create a Light album. You don't need to print the photos separately. We will print your photos directly on the pages of the Light album. Upload images to the free Mapi7 editor and create a themed Light album. You can upload photos from your phone.
How to properly photograph a manicure with highlights
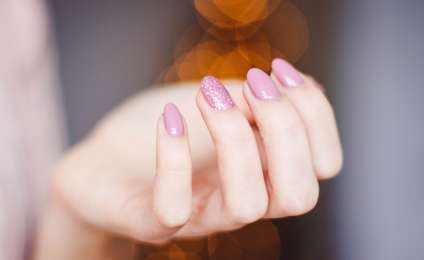
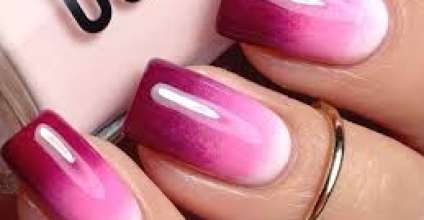
A glossy manicure with highlights looks very attractive in photographs. To take such a photo, you need to use a round and powerful lamp. The lighting source should be positioned to the side and as close to the nails as possible. The nail coating should be glossy and well polished.
Before taking a photo, do not remove the protective sticky layer, as it reflects light well and your photo will turn out brighter. If you couldn't find the right lighting to photograph the manicure with a glare, you can use graphic editors to add the desired effect. But do not overdo it with Photoshop, manicure photos should look natural.
What background is best for photographing nails for a portfolio
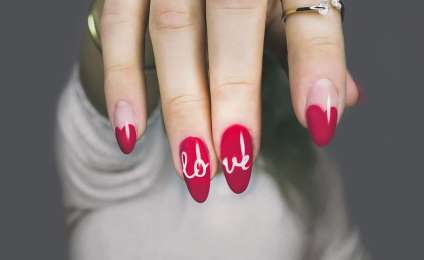
The background should complement, but not distract from the beauty of the manicure, remember that the nails should be the center of attention in the composition. If you choose too bright accessories, the manicure may get lost in the background. For bright nail polish, a neutral light background is suitable, and for photos of nails in pastel tones, accessories can be added.
Use decorative paper, fabric, wool, or wood as a background. You can photograph nails against a knitted sweater or decorative pillow. If you are taking pictures against paper, choose a color that complements the nail polish. On top of the paper, you can write the name and surname of the nail artist or place the logo of the nail salon.
For a light and gentle manicure, choose subtle decorations such as stones, sand, feathers, beads, and lace. For an evening manicure, flowers, jewelry, fruits, and vegetables would be more suitable. Nails look beautiful against the background of an object, you can ask the model to hold a purse or wallet in her hand, so the photo will look more natural and less staged.
Shoot from different angles, so you can find the most advantageous composition and diversify your portfolio. Nails look good against the background of various objects. Let the model hold a cup or scarf that matches the color of the manicure. Use different details, take photos of the nails from all sides, the more shots you take, the easier it will be to choose a successful shot for your portfolio.
How to properly photograph nails on a phone
For a professional nail artist portfolio, it is better to take photos with a mirror camera. However, there may not always be professional photography equipment at hand or time for a photo shoot. If you are posting photos of your work on Instagram, you can take pictures of nails with your phone. To take a beautiful photo of a manicure with your phone, consider the following nuances:
- Place the nails right in the center of the frame. Use the centering mode, it will show how to better position the composition and focus on the desired area.
- Do not use the zoom mode as it degrades the quality of the photos.
- To capture the shine, take pictures of the nails from the side, while for a matte manicure, you can photograph it from the top.
- Do not use standard filters on your phone and Instagram. For editing nail photos, it is better to use graphic editors.
How to avoid mistakes when creating a nail artist portfolio
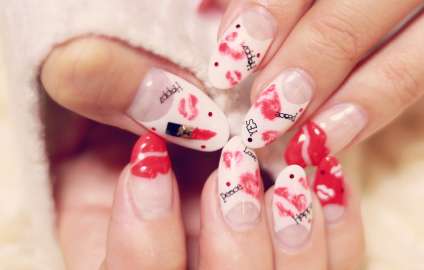
The most common mistake that beginners make when photographing manicures is choosing the wrong distance. The nails should not be too close or too far away. The manicure should be clearly visible with all the designs, glitters, and rhinestones. The optimal distance between the camera and the nails is 50 centimeters. If you are taking photos from a closer distance, do not use accessories, as they will not be clearly visible.
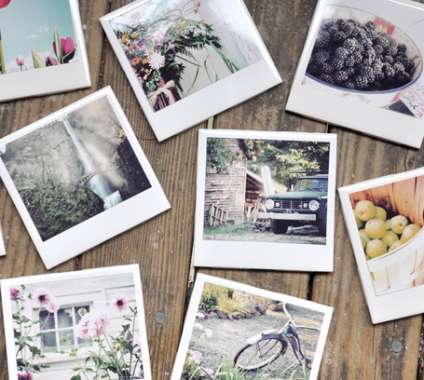
Cool photos deserve unusual framing. Print your cool photos in a Polaroid style. Fans of instant photography from the 90s may experience familiar feelings when holding a Polaroid-style photo in their hands. Those unfamiliar with traditional Polaroids may appreciate the square images with space for captions.
Another common mistake is choosing the wrong lighting. Do not use too little or too much light. Choose either natural light or artificial lighting. If you use two light sources, your shots will be out of focus and overexposed.
Do not apply too many filters and retouches in Photoshop, as your photos will look too unnatural. Clients want to see a real picture of how their nails will actually look after visiting a manicurist.
If you have already taken high-quality photos of your manicure, select the best pictures, upload them to the Mapi7 editor, and order the Light Portfolio album. It will be convenient for clients in the nail salon to view photos in printed form and choose the design they like.

