We photograph light
Published: 13.04.2021
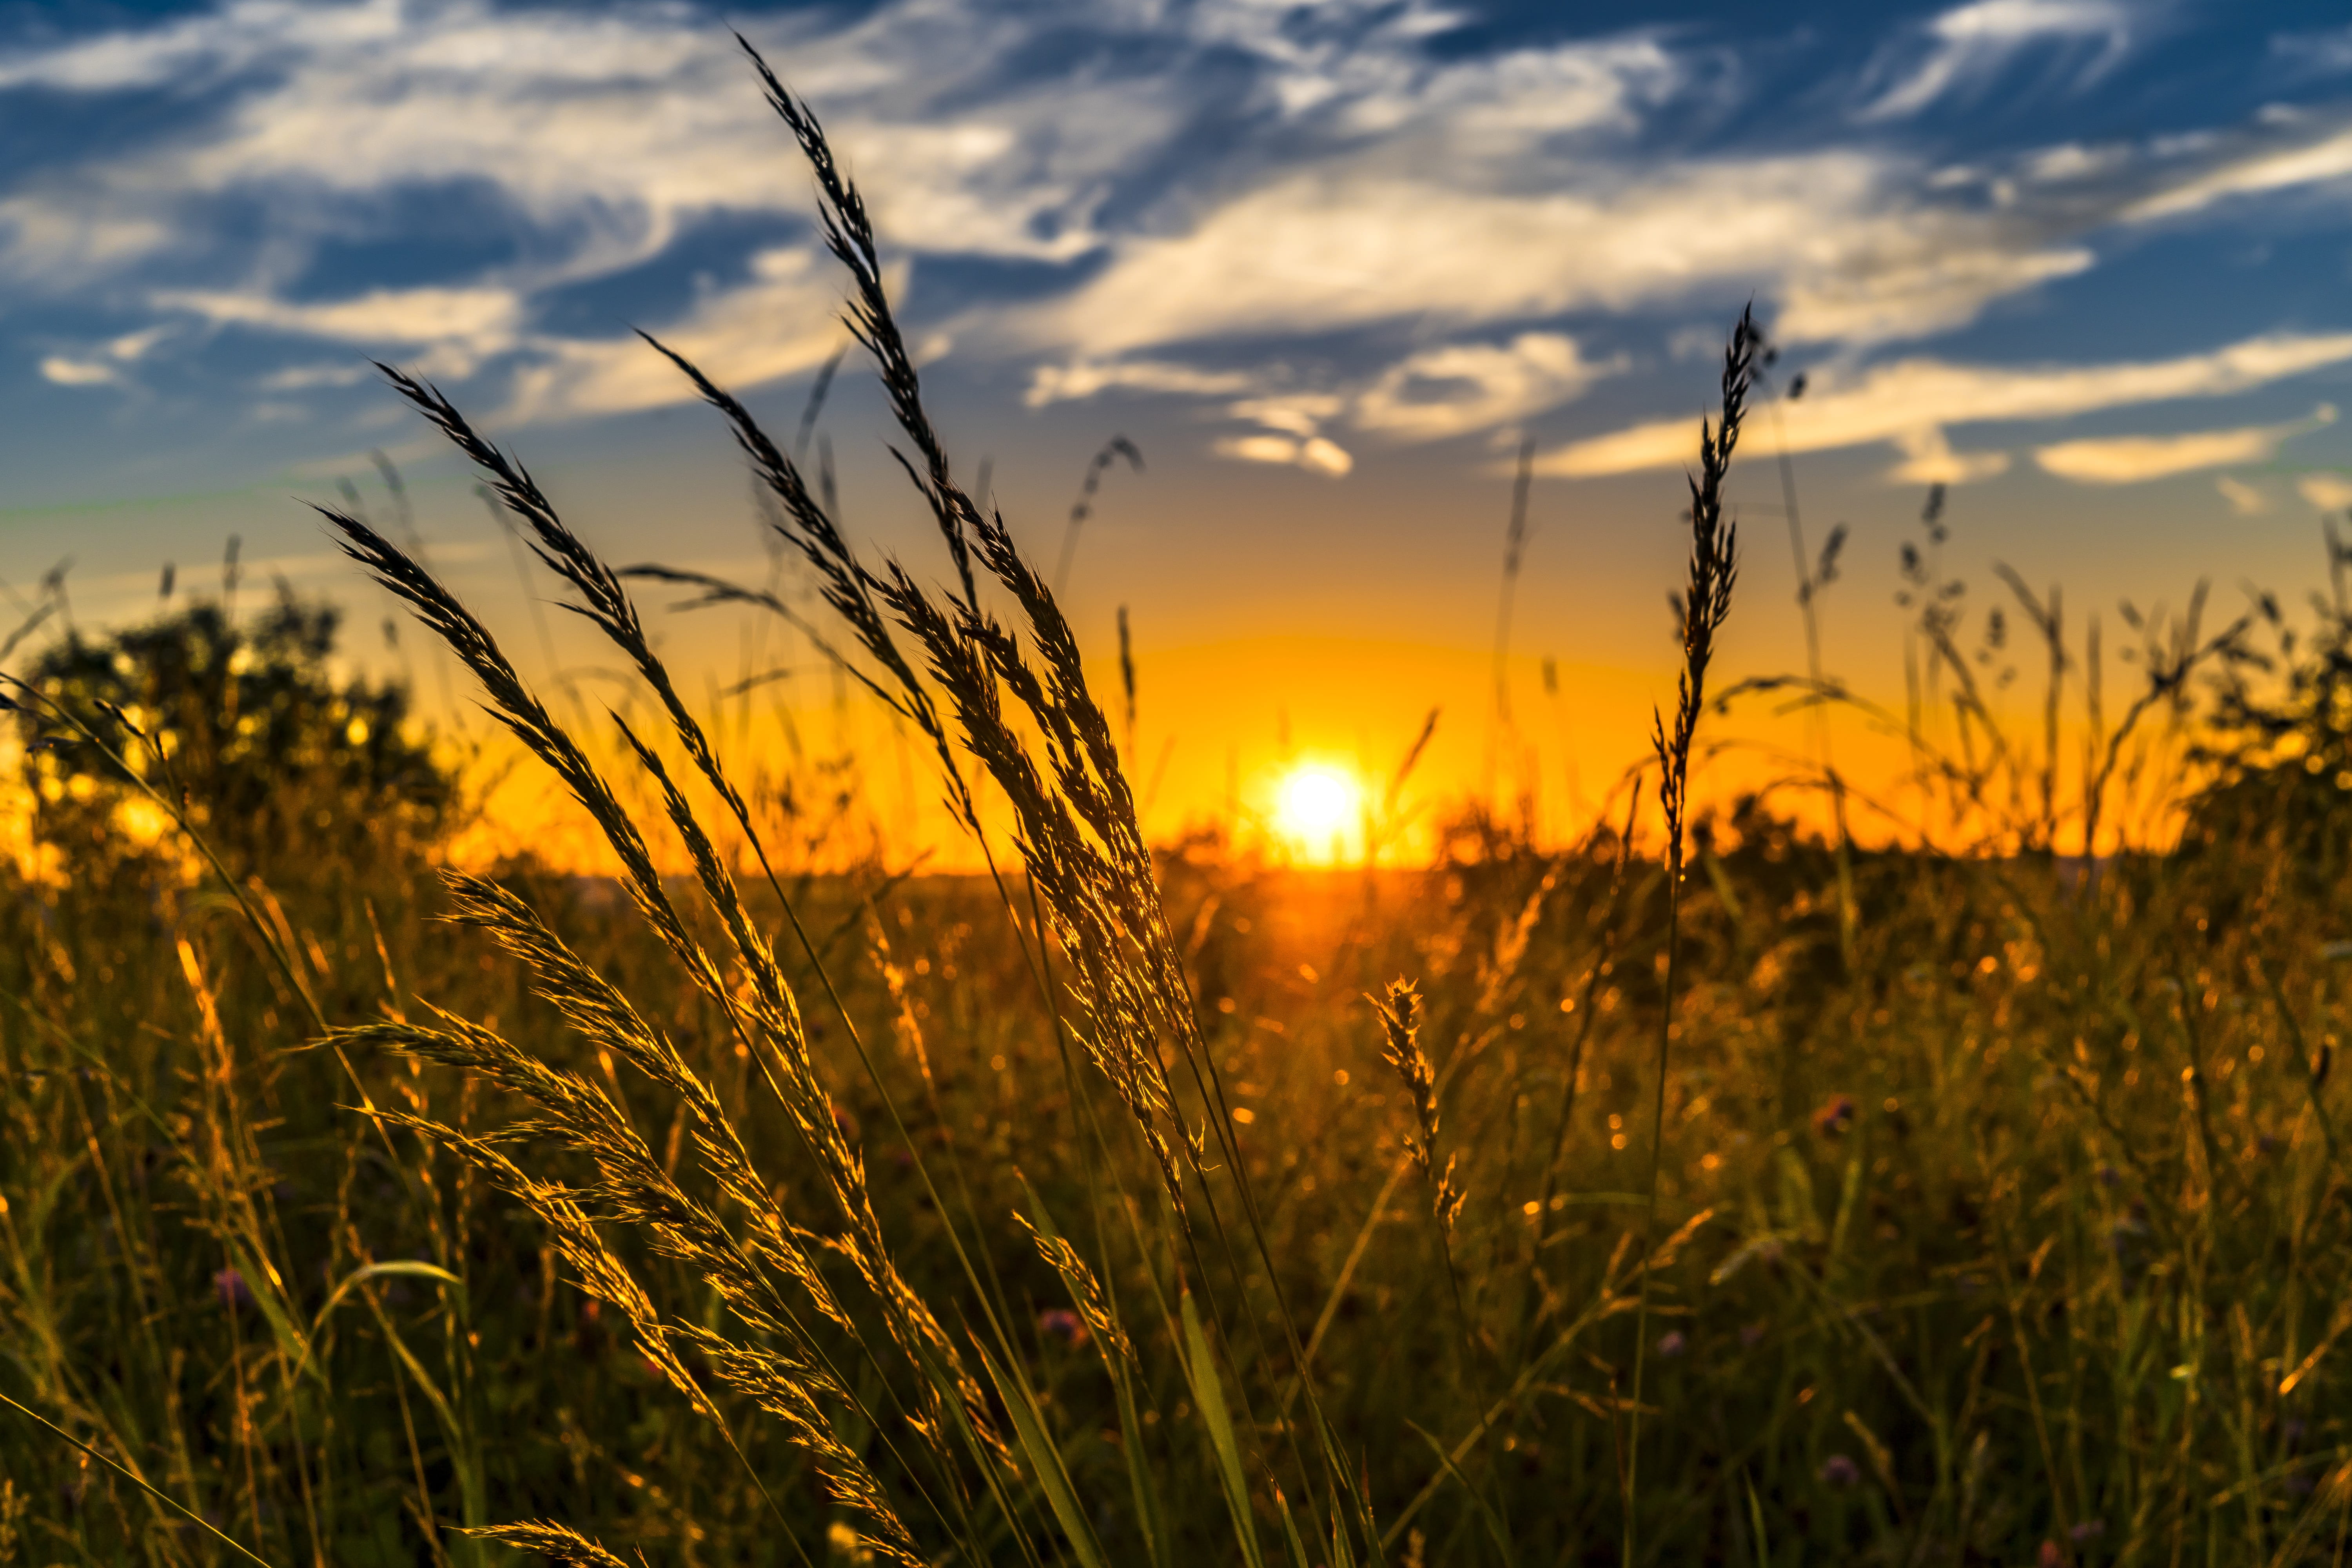
The word "photography" translates from Greek as "writing with light". To truly become a good photographer, one must understand how to properly use light in creating images. Understanding light is more complex than learning the settings of a digital camera, as light reflects off objects, passes through them, casts shadows, and affects the colors of subjects.
The photograph appears as a result of light hitting the materials inside film cameras. Although modern smartphones and digital cameras have left behind the technologies of the first photographs, the essence remains the same. Whether you shoot on film or take a digital picture, nothing can be achieved without light. Even the most expensive professional camera is practically useless in a dark room.
We have gathered basic rules on how to properly photograph light, control natural and artificial light during shooting.
The correct position of the light during shooting
Adjusting the lighting during a photoshoot plays a key role. The placement of the light source in relation to the object you are shooting affects the final appearance of the image. Sometimes it is necessary to move the light source, and other times - to move the object and change the position of the light.
Three-point lighting is a traditional method of illuminating an object in a scene with light sources from three different positions. There are three types of light sources: key light, fill light, and backlight.
If the light source is in front of a person or object, all the details will be visible. This is because shadows, which could potentially hide some defects, fall behind the object, not on it. Taking photos with frontal lighting is easier, but sometimes the photo turns out flat.
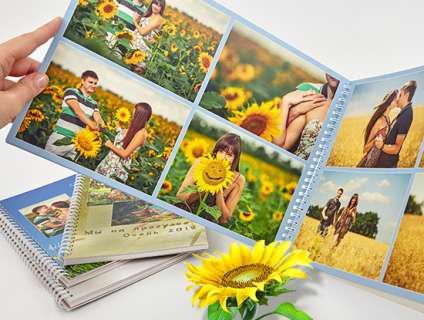
From the great photos that you will definitely get, create a Light album. You don't need to print photos separately for this. We will print your photos directly on the pages of the Light album. Upload images to the free editor Mapi7 and create a thematic Light album. You can upload photos from your phone.
Side lighting helps create shadows and add depth to the image. Side lighting is also not difficult to shoot, but it is important to pay attention to how the shadows fall. It is not necessary to place the side lighting at a 90-degree angle, even a slight angle can change the shadow fall. Moving the object slightly in relation to the light source can result in interesting shadows.
The most challenging of all possible lighting situations is backlighting. If you are a beginner and do not know how to photograph against the light, try to avoid backlighting (for example, an object right in front of a window) until you master the manual settings of the camera. Otherwise, you will end up with a dark silhouette. Once you have mastered the technique of shooting in manual mode and proper exposure settings, backlighting can create impressive images. Backlighting gives portraits a halo effect, softly illuminates leaves and flowers.
The position of the light affects where the shadows fall. Although it is impossible to move the sun, shifting the object (or using a mobile light source like a flash) allows photographers to choose exactly where these shadows fall.
How to photograph in bright sunlight? When photographing a person on the street on a sunny day, you need to make a fundamental decision about the placement of the subject: will the subject be facing the sun, or will you position them so that the sun is behind them? In almost all cases, it is best to place the sun behind the subject being photographed.
What ISO should be used in bright sunlight? "Sunny 16" is a rule according to which in bright sunlight conditions, you should set the aperture to 16 (using the AV mode on the camera). If you are shooting in fully manual mode, the ISO should be 100. And for the shutter speed, try 1/100 or 1/125. For shorter exposures, it may be useful to increase the ISO to 200.
How to take photos indoors
If you take a lot of photos, the lighting may not always be ideal. Most of the time, you find yourself in a situation where the light is not perfect. If you have a professional camera, people expect the photos to be print-worthy. How to take photos at home in low light? Here are some useful tips.
Make sure that the camera settings are adjusted correctly depending on the light source. When shooting in low light or at night, it is necessary to use the highest shutter speed possible (assuming you are not planning to do a long exposure or creative blurry shot). Start by increasing the ISO. Most cameras are advanced enough that you can easily shoot at ISO 3200 (or higher) without noticeable graininess.
If you have a prime lens, use it to take advantage of f/1.2 - 1.8. The wider you open the aperture, the more light your camera will receive. After setting the ISO and aperture, check the shutter speed. Ideally, the shutter speed should be above 1/60, otherwise you risk getting a blurry image. Of course, if you have a built-in or external flash, use these lighting tools in such situations.
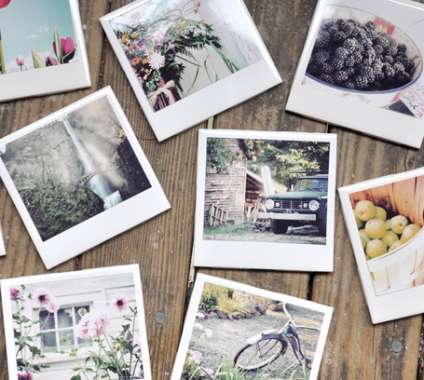
Cool photos deserve an unusual framing. Print your awesome pictures in a Polaroid style. Fans of instant photography from the 90s may experience familiar feelings when holding a Polaroid-style photo in their hands. For those unfamiliar with traditional Polaroids, square images with space for captions will be to their liking.
Isolate your subject. If the place you are in is poorly lit, do not fully showcase it. Just like wedding photographers use a narrower lens to not show the cluttered preparation room, you need to do the same with poor lighting.
Using a tripod can significantly improve the quality of your photos when shooting at night or in poorly lit environments. By using a tripod, you can reduce the shutter speed to capture more light. If you are hand-holding the camera, you should try to stay at a shutter speed of no less than 1/60 of a second. However, once you place the camera on a tripod, you can keep the shutter open for a longer period of time.
- Switch the camera to manual mode and choose the correct settings. To get a good backlit photo, you need to slightly overexpose the image, as the front side of the object will be darker than the area directly surrounding it. A good starting point is a wide aperture (from f/2.8 to f/5.6) and ISO around 100 with a shutter speed between 1/100 and 1/640. After taking a few test shots, adjust the settings to achieve the desired result.
- Choose the right time of day. Lighting works best early in the morning or late in the day when the sun is rising or setting. If you are shooting closer to noon, the sun will be directly overhead, evenly diffusing light and making it difficult to concentrate light behind the subject.
- Place the light source behind the object. When looking into the camera, the light should pass through the sides of the object illuminated from behind, but the central light source should mostly be hidden.
- Experiment with different angles and positions. If you are using sunlight for backlighting, strong sunlight behind the subject often creates unwanted glare. Using a diffuser or umbrella for photography can help combat glare.
- Use spot metering to focus the camera on a specific area of the frame and determine the best exposure for that area. Professional photographers use spot metering when shooting backlit scenes, as standard exposure readings often underexpose the subject in such lighting conditions.
- Adjust the white balance. The correct white balance will make the colors in your image as bright and realistic as possible, which can be difficult when shooting with a strong light source behind the main subject.
Photography is not the only way to capture the world, but it is certainly one of the most effective. Whether you are just starting out or dreaming of becoming a professional, photography requires a lot of practice and a great deal of patience. By mastering the basics of composition and light, you can take stunning photos that you will be proud of, even with a modest digital camera with a standard zoom lens.


