We invite the sun into the frame or how to take photos in the sun
Published: 16.07.2021

Photography on a bright sunny day is a challenging task. Strong light can ruin even the best shot. In the summer, when you want to take photos on the beach or in the park, and all you have is a camera or an iPhone, you can still use the sun to your advantage and get great shots.
How to photograph the sun?
In addition to the fact that staring at the sun for a long time can cause irreversible damage to your eyesight, using a camera in the heat can also damage the device. The internal components of the camera can melt if the camera is left out for too long. Therefore, professional photographers use a solar filter when shooting an eclipse.
If you are wondering whether it is possible to photograph the sun, the answer is yes. However, it is necessary to follow safety rules and equip yourself with special equipment.
Here are a few basic principles that will help you photograph the sun correctly:
- Safety first! Do not look at the sun without sunglasses.
- Do not point the camera at the sun if the lens is not equipped with a certified solar filter. The camera lens increases the intensity of sunlight and can damage the equipment.
- Take a tripod if you are using a super telephoto lens. The stability of the camera will provide the sharpest image possible.
- When using a camera on a tripod, using a remote shutter release (threaded, wired, or remote) will reduce vibration.
The tips on how to photograph the sun with a DSLR camera are also applicable for mobile phone users.
How to photograph the sun on a phone?
If you find it difficult to take good photos in the sun on an iPhone, you are not alone. Shooting in sunlight often causes exposure problems and harsh shadows that ruin the pictures. The secret to photographing the sun on a phone lies in choosing the right time, place, and angle.
Here are 10 tips on how to photograph against the sun to create stunning photos.
- Shoot when the sun is behind you. If the sun is behind you, the object in the photograph will be evenly illuminated from the front.
- After pressing to set the focus, adjust the exposure to correct any brightness issues.
- Shoot so that the sun is positioned to the side of the subject to create interesting side lighting and shadows.
- Emphasize the silhouettes by placing the object in front of the sun and shooting towards the light.
- Use the sun to illuminate semi-transparent objects, leaves, and flowers to reveal the shade, texture, and details.
- Shoot in harsh light to achieve strong contrast and shadows that look great in black and white.
- Shoot during sunrise and sunset to capture the wonderful warm colors of the golden hour.
- If strong sunlight is ruining your photos, move the object into the shade or wait until the sun is lower in the sky.
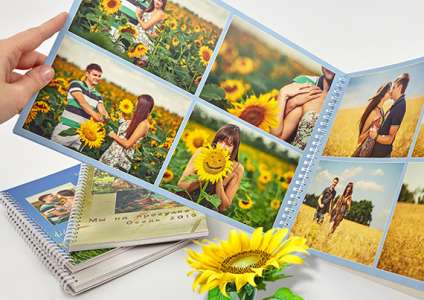
From the great photos that you will definitely take, create a Light album. You don't need to print the photos separately for this. We will print your photos directly on the pages of the Light album. Upload the images to the free editor Mapi7 and create a themed Light album. You can upload photos from your phone.
Different positions of the sun for perfect shots
Depending on the time of day and the position of the sun in relation to the subject being photographed, shadows can work either in your favor or against you. We have gathered some tips on how to take photos in bright sunlight outdoors. These tips are suitable for shooting with a DSLR camera or smartphone.
Sun behind
For portrait photos on a bright sunny day, the photographer should not stand with their back to the sun. It will be uncomfortable for the model. The bright light causes squinting and ultimately the natural expression on the face is lost. In such cases, it is better to find a place with light shade.
If the object you are shooting is close to you, make sure you are not casting a shadow on it. An exception is if you are trying to shield the sunlight so that the object does not get direct sunlight.
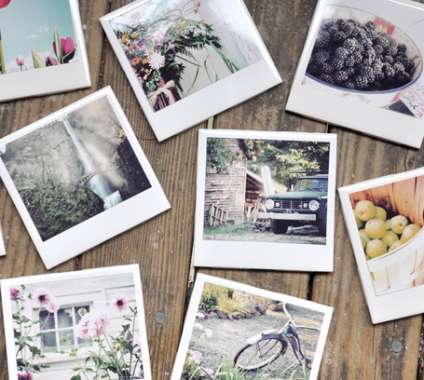
Cool photos deserve unusual framing. Print your cool photos in a Polaroid style. Fans of instant photography from the 90s may experience familiar feelings when holding a Polaroid-style photo in their hands. For those unfamiliar with the traditional Polaroid, square images with space for captions will be appealing.
When shooting in bright sunlight, you may need to adjust the exposure of the image. Exposure determines how bright or dark the image appears. Here's how to photograph against the sun on a phone. If you are using an iPhone, tap the screen to focus on the subject. Check if the image is properly exposed. Then adjust the exposure using the control in the camera app. Swipe down on the screen and a sun icon slider will appear for exposure adjustment.
Sun on the side
If the sun is behind you, the object in the photograph will be evenly lit from the front. This works well in many situations, but it doesn't make the photo interesting. By changing the position of the object relative to the sun, you can achieve unusual lighting in the frame.
If the sun is on the right or on the left, part of the object will be well lit, while part will be in shadow. This makes the photo interesting because the eye moves from light to shadow and back. Side lighting is suitable for any subject, but especially effective for portrait photography. This position has an additional advantage: the subject does not need to look directly at the sun and squint.
Sun ahead
Beginners are often told not to shoot in the sun, as it ruins the shot. But rules are made to be broken! If you master a few simple techniques on how to photograph against the sun with a DSLR camera, you will get incredible shots.
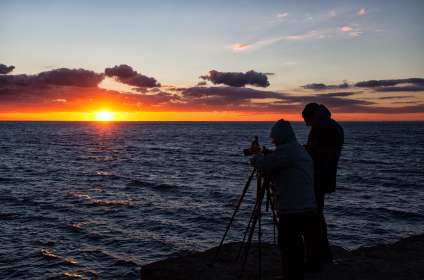
When the sun is in front of you, the object will be illuminated from behind, not from the front. This technique is called "backlighting". Shooting in the sun can create silhouettes. A silhouette in a frame is when an object appears as a dark figure against a bright background.
To create a silhouette photo, place the sun or bright sky behind the subject, set the exposure for the bright sky. This way, the sky will be captured with good colors and details, and your subject will appear dark. If you don't do this, the camera may correctly expose for the subject and it will appear too bright.
It is best to shoot silhouettes from a low angle. If you shoot at eye level, a large area of dark background behind the lower half of the object will not allow the silhouette to stand out.
Although shooting photos in bright midday sun presents a specific set of challenges, you can still achieve excellent results if you know how to photograph in bright sunlight and what to pay attention to.


