How to photograph a seascape with a long exposure
Published: 03.08.2021
Every year we eagerly await our vacation to relax on the seaside. Everyone wants to capture unforgettable moments from their vacation by the sea. However, when scrolling through Instagram, we often see the same types of photos, standard poses, and boring landscapes. To stand out among the mediocre photos of seaside landscapes, try taking long exposure shots. These shots look unique, vibrant, capture the atmosphere, and allow you to highlight the main details in the photo. Let's explore the techniques used to take such photos and how to do it correctly to get great photographs.
What is long exposure and why is it used
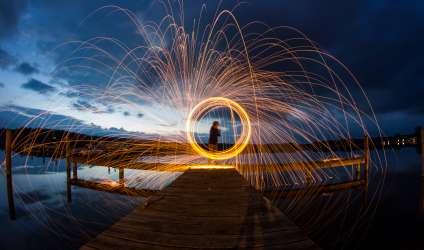
Shutter speed refers to the period of time during which light hits the camera sensor. A long shutter speed allows for a lot of light to pass through over a longer period of time. A short shutter speed allows for a sharper image, while a long one better conveys the sense of movement, making objects appear smoother and capturing dynamics.
Shutter speed is measured in seconds. The higher the value, the smoother and more blurred moving objects will appear in the photo. A shutter speed of 1/10 of a second or longer is considered long. Typically, the duration does not exceed 30 seconds, but it can be several minutes. Modern cameras have a Bulb mode, which allows you to set the time during which the camera shutter will remain open.
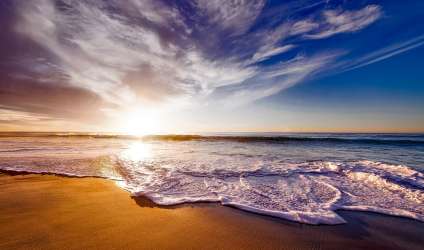
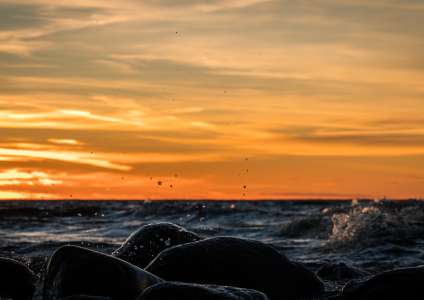
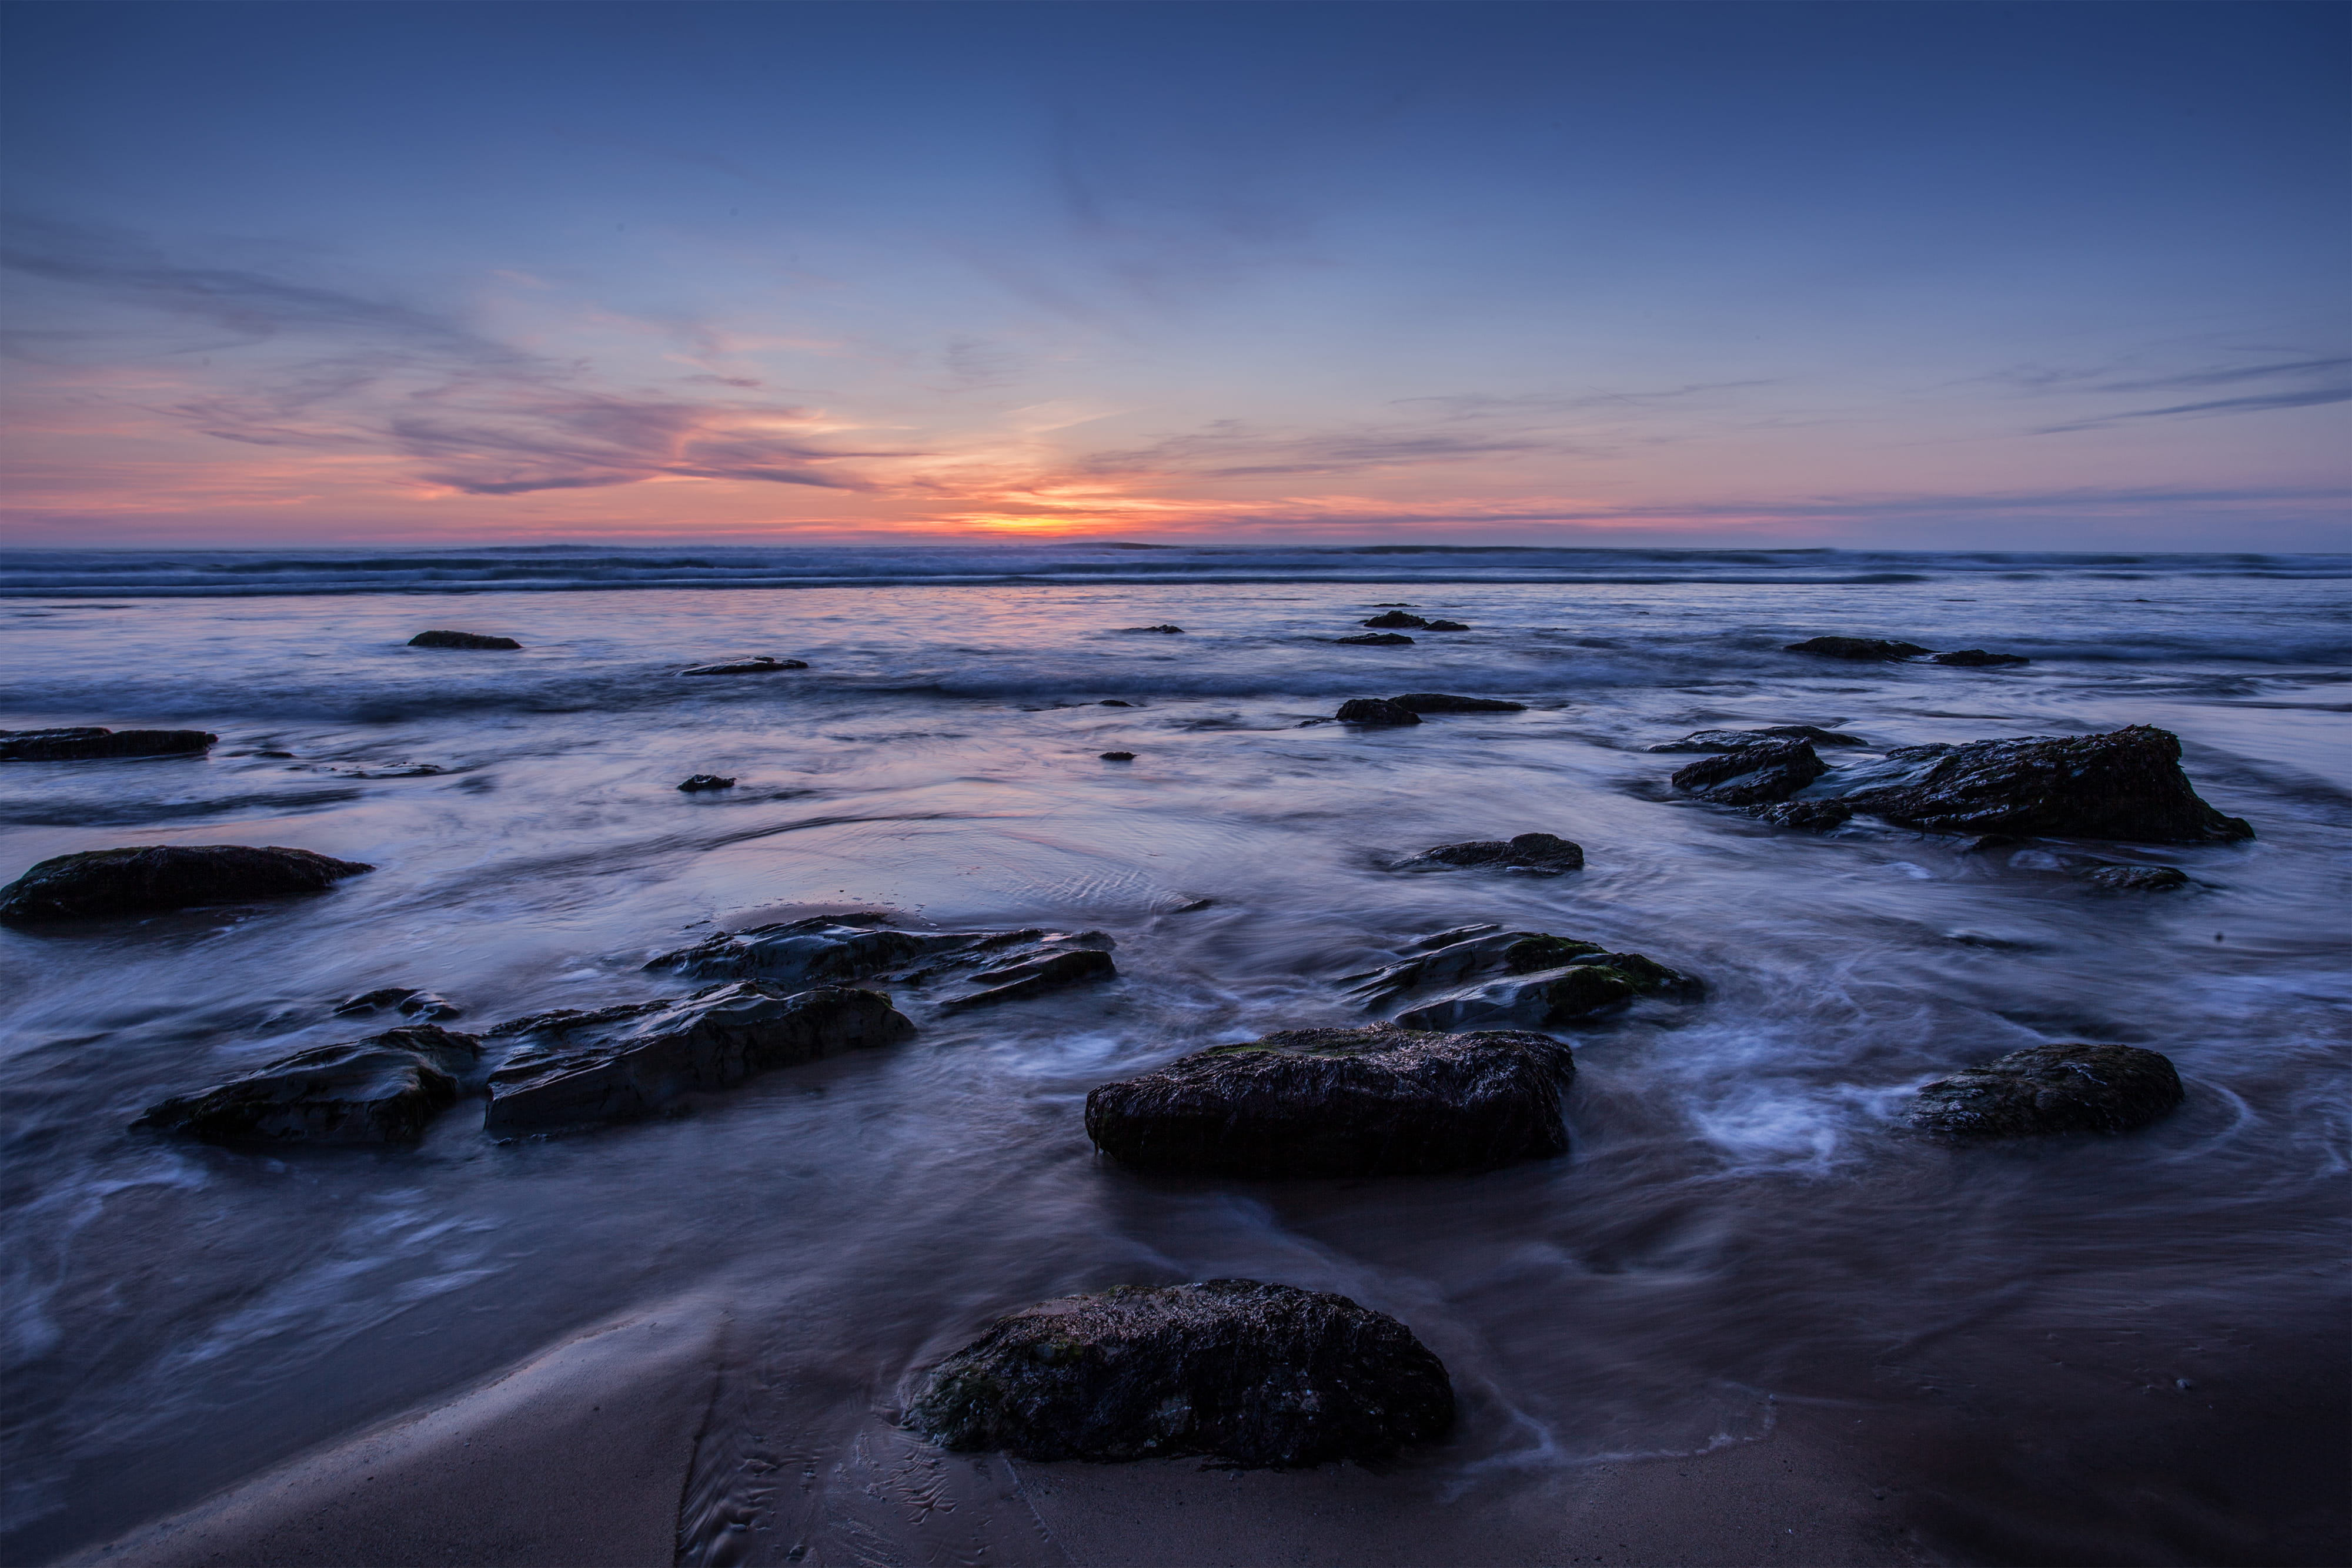
A long exposure is used to create artistic effects in photos, to capture or eliminate dynamics. It is quite challenging to capture sea waves with a short exposure, as the water is constantly in motion and often results in blurry images. A long exposure allows you to freeze the waves, smoothly capture the flow of water, turn it into mist, show the trajectory of the movement of stars and clouds. The longer the exposure, the better the movement of objects is visible. As a result, you get highly artistic photos of seascapes that look unusual and stand out from the crowd.
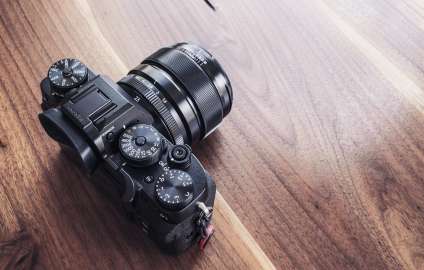
The lower the ISO, the longer the exposure can be. Ideally, marine landscapes should be photographed with a full-frame DSLR camera and a wide-angle lens with a focal length of 12-55mm.
In addition to the camera, you will need a tripod and interchangeable filters. To photograph a seascape from a favorable angle, it is often necessary to enter the water. Waves, wind, and splashes of water can disrupt the stability of the camera, so a tripod is essential. It is not necessary to buy an expensive and large tripod, the main thing is that it is sturdy and stable. Ideally, you should also have a wired or wireless remote control, then clarity and stability during shooting are guaranteed.
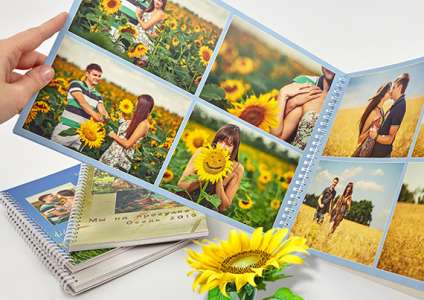
From the great photos that you will definitely get, create a Light album. You don't need to print the photos separately for this. We will print your photos directly on the pages of the Light album. Upload your images to the free Mapi7 editor and create a themed Light album. You can upload photos from your phone.
An important component of shooting with a long exposure is selecting the right filter for the lens. The longer the exposure, the more light enters the frame. Without using a filter, the photo will turn out overexposed, especially when shooting during the daytime. A filter allows you to control the amount of light entering the frame, without darkening the photo or distorting the colors. For shooting in bright daylight, 4-6 stop neutral density filters are suitable. For exposures longer than 30 seconds, more powerful 10-stop filters are needed. Another function of filters is to neutralize reflections from water. For this purpose, it is worth investing in a circular polarizing filter, which controls the reflection from the water surface. Avoid buying cheap Chinese filters, as they often do not fit the lenses and do not produce the desired effect. It is better to use original filters from reputable manufacturers.
How to prepare for shooting seascapes
Please note that to get a successful photo, you will have to experiment and wait for a long time. When shooting in water, the camera will inevitably be splashed with water, sand, and salt from the sea, which can lead to equipment failure. Protect your equipment as much as possible from the negative effects of the environment.
A great advantage will be the function of protecting the camera and lens from moisture. Also, take microfiber cloths with you to wipe the lens, otherwise you will get an image with water droplets and salt particles.
The best time for shooting seascapes is the 'golden' hours after sunrise and before sunset. During this time, the sunlight is not aggressive and you can capture photos with soft and warm colors. Interesting shots can also be taken at night. If your equipment allows it, set the longest exposure possible to capture the effect of moving stars in your photos.
Tips on how to properly photograph the sea with a long exposure
There are no universal rules on how to photograph with a long exposure. The quality of the photo depends on the equipment used, lighting, weather, the right angle chosen, and camera settings. Only through trial and error will you understand how to best capture seascapes. To minimize these errors, we recommend following the following tips during shooting:
- Take photos in manual mode. Automatic settings often make mistakes with exposure. It's better to fully control the shooting process yourself than to trust it to technology.
- Use a remote control to press the shutter button. When you touch the camera with your hand, there is a risk of getting a blurred photo.
- Choose the exposure time correctly. For capturing photos with drops and splashes, an exposure time of 1-5 seconds is sufficient. For a stronger blur effect on waves or clouds, set the exposure time to 20 seconds. If the exposure time is longer than 30 seconds, you will get a frozen water effect in the photo.
Cool photos deserve unique framing. Print your cool photos in a Polaroid style. Fans of instant photography from the 90s may experience familiar feelings when holding a Polaroid-style photo. Those who are not familiar with traditional Polaroid will enjoy square images with space for captions.
- Shoot as close to the water as possible for a clearer focus. To make the landscape sharp, set the ISO to a minimum, and shoot with a closed aperture at F11-F14.
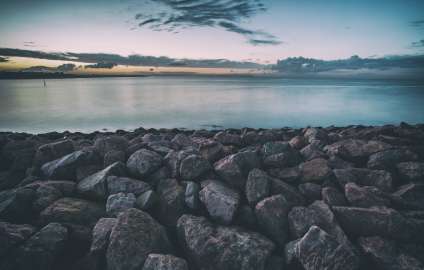
- Focus on the foreground. Find an interesting object, rock, or boulder and place them in the center of the frame, this will give the photo depth and sharpness.
- Choose the moment to take a photo when the water recedes, so that sea foam appears in your photo, creating whimsical lines.
- Save photos in RAW format. Although the images will take up more space on the memory card, you will be able to easily edit them in graphic editors later.
Do not be afraid to experiment with exposure, filters, settings. Try taking photos of seascapes at different times of the year, day and night. Do not wait for perfect weather. Sometimes the best photos are taken in a storm or cloudy weather. Take photos from different angles, capture high and low tides, sunrises and sunsets, clouds and stars. The more you photograph, the greater the chance of creating a masterpiece. And you can preserve the best shots by printing them in a Light album. Printed photos accurately convey colors and will preserve valuable memories of beloved seascapes for a long time.

