What photos to bring from the tour
Published: 14.07.2020
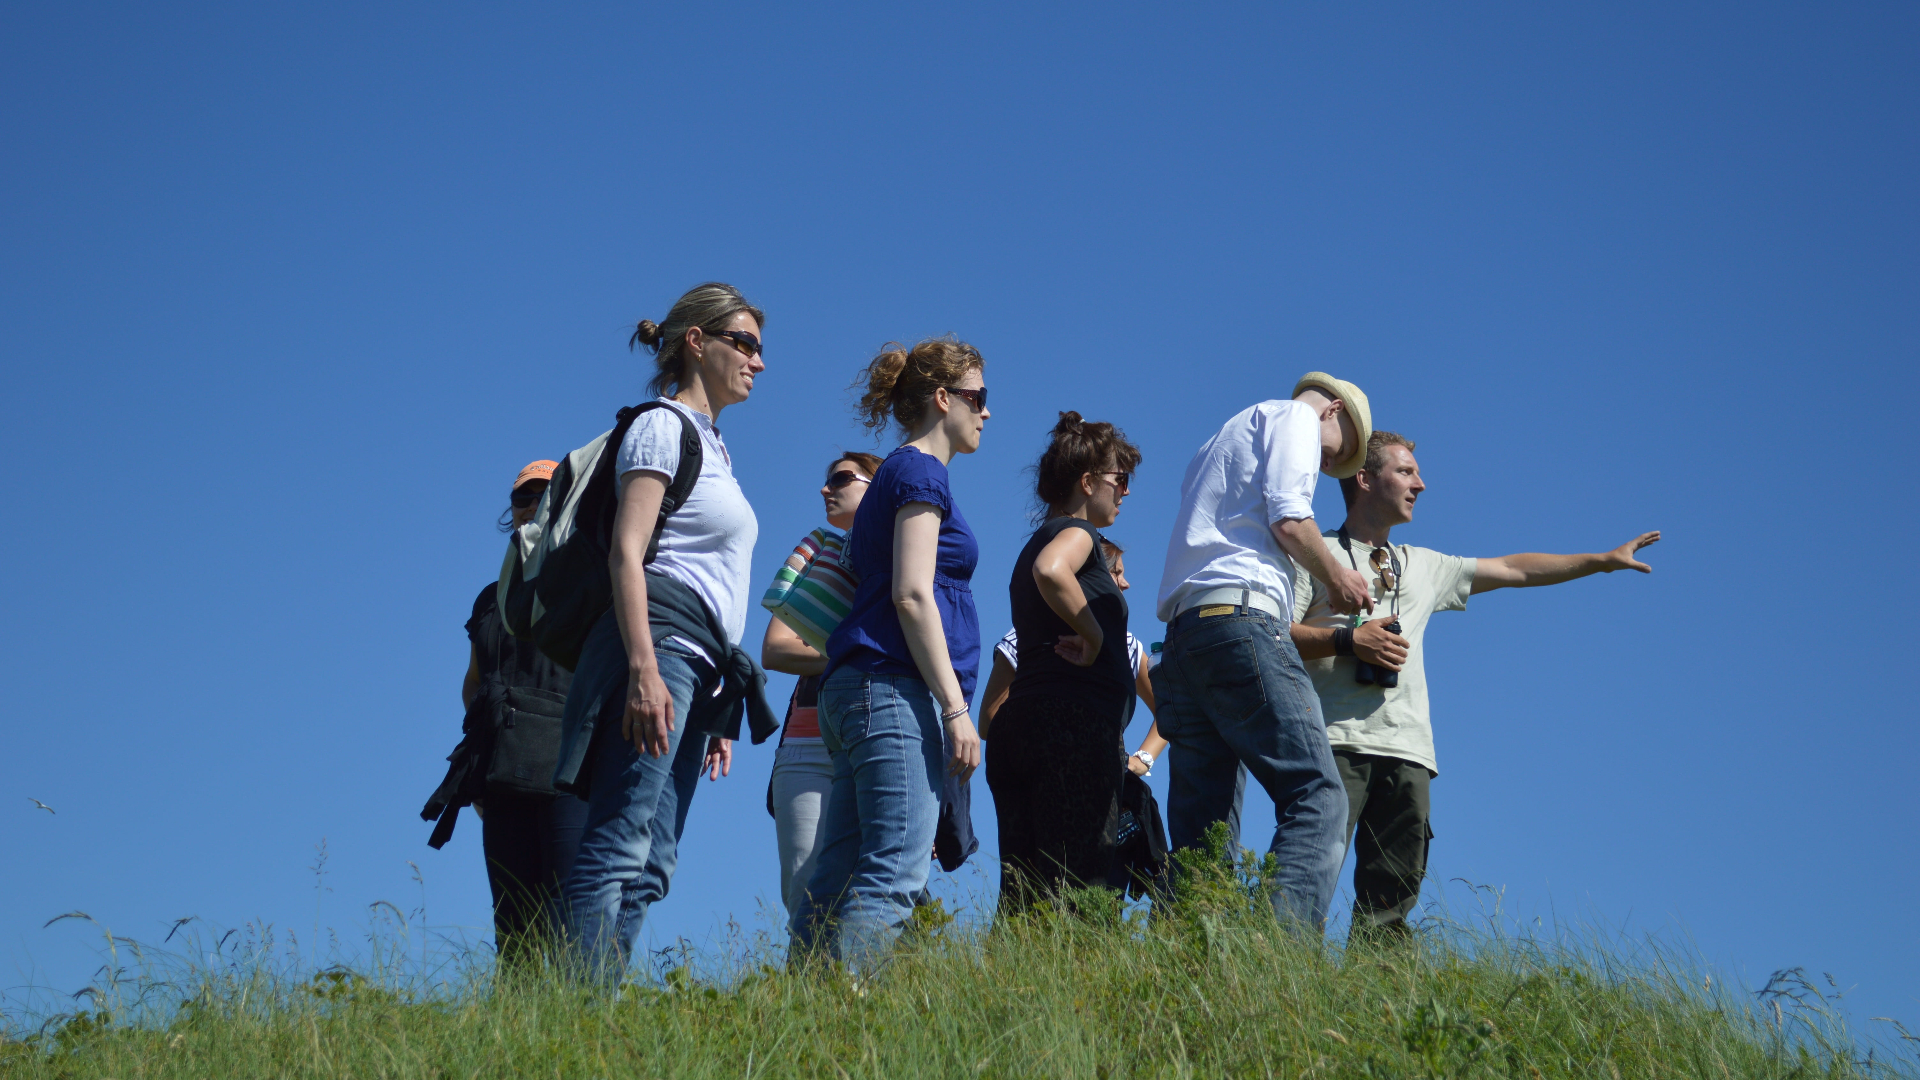
During excursions, there are so many interesting objects that your hand automatically reaches for the camera or smartphone. However, the excursion process is not designed for photographers who want to capture everything at once or fill their Instagram stories. We will tell you what photos to bring from the excursion and still enjoy it.
Your guide and the rest of the group will not wait for you to choose the angle, set up the camera, and compose the shot. No one will clear the space in the frame for you. You will get nervous, stop listening to the guide, and may even fall behind the group. The time for taking photos during the tour is minimal. It will be difficult to use it optimally. But do not despair, there are a couple of ways to capture memories of the tour in photographs.
Optimally
The ideal option is to take a photo tour for yourself. You will be among a group of like-minded individuals who are eager to dedicate a few days to photography. The tour provides a great learning atmosphere. If you invest time in research and planning, you will find yourself in the right place at the right time and return home with some exceptional photos.
When choosing a photo tour, consider the location. Not all tours take place in exotic, remote locations. An excursion near your hometown gives you time to immerse yourself in photography. Too often, the best plans to spend a day shooting are interrupted by work, assignments, or other disruptions. In a photo tour, your time is focused on photography.
Another consideration is the size of the group or the student/leader ratio. One of the great advantages of a tour compared to self-organized travel is that you receive photography instruction. Make sure the group size is not so large that it becomes difficult to ask questions and receive assistance from the guides.
Finally, conduct some research on the professional leading the tour. How long have they been conducting this tour or been in the business? Do they have their own website? If so, check out their portfolio. Have they posted photos from past tours? Do these types of images inspire you? If so, this leader may be a good fit for you. If not, check out some other tours. And of course, read reviews from past clients.
Avoid photo tours where you are simply taken to the right place at the right time. If you are paying money for the opportunity to take photos, you should not be funding the leader's trip to add to their portfolio. Ask if the guide will also be taking photos. Some bring a camera to show you how to shoot or adjust settings. It's a different story when the leader is so busy working on their own images that they don't have time to answer the group's questions.
The advantages of photo tours with a leader are that you won't come back without photos. Shooting time alternates with informative lectures, after which the images look even cooler.
The disadvantages of photo tours include: the duration of the trip or hike (often a photo tour takes at least a day to capture the morning and evening golden hours) and the level of comfort.
During the tour, it's worth taking a break, catching your breath, and examining any potential photos that you may have missed. Look up, down, and all around - there are photo opportunities everywhere. Instead of continuously shooting at eye level, play around with low angles or position the camera in different places to create a unique perspective.
During excursions, you don't have to choose the best lighting. Unless you take a tour at sunrise or sunset. Therefore, you will have to quickly adapt and make the most of the conditions.
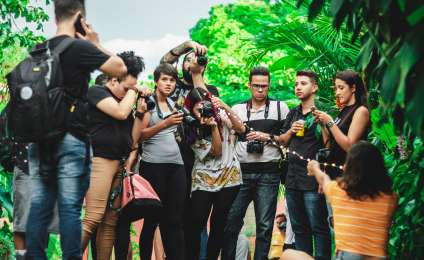
If your group does not want to wait for you, suggest them to join the shooting. A group of people can become the highlight of the image.
Create a Light album from cool photos. You don't need to print the photos separately for this. We will print your photos directly on the pages of the Light album. Upload your images to the free editor Mapi7 and create a themed Light album. You can upload photos from your phone.
Rule of ThirdsIt states that the human brain is attracted to objects that are either in the horizontal or vertical thirds of the frame. Therefore, instead of taking a picture of your subject at the top of a mountain in the middle of the frame, try positioning them to the right or left of the frame and include more background in the image.
Symmetry.Imagine a camera frame with swings. To get a symmetrical photo, try to evenly balance each side of the frame so that it is "balanced." You can also play with asymmetry, which is a bit more challenging to master. Think of asymmetry as "loading" one side of the swings when the objects in the frame are not evenly balanced.
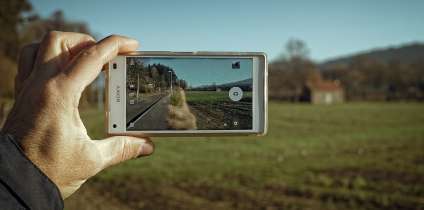
Horizontal images are also displayed well because they fill the entire computer screen. Vertical images tend to feel static and two-dimensional, plus they do not display well on any computer screen because you will get black bars on the sides of the image. Horizontal images will look much better on Facebook than vertical ones because you won't get those black spaces.
There is one exception to this rule: if you are standing at the base of a very tall structure or object (such as a tree or the Eiffel Tower), you may need to take a vertical shot to capture the object.
If in doubt, always choose a horizontal shot!
Favorite photos are a reason to create photo magnets. Round, square, with shaped edges or magnetic puzzles - the perfect souvenir. They don't need a shelf or album. Refrigerators, computer cases, cars, and other surfaces that are always in sight are the perfect place for magnetic photos.
ScenkiClose-up. ShootinglandscapePhotographs are a great way to capture any excursion, but taking close-up shots will make your friends and family envy your photography skills! Try taking a few close-up shots.Close-up, which reflect the unique attributes of a particular landmark or beautiful place. For more information on photographing landmarks, read inour article.
If your object is small, stand about 50cm away from the object to take a picture. If your object is larger, for example, a building, step back further, but don't try to capture it all in one shot.
Summarize
Do not let your beautiful photos stay on your smartphone or laptop after the end of the tour! If your photos are stored in galleries or on disks, it will be difficult to show them to friends and family.
Take photos during excursions. Capture in the lens everything that touches your heart, that makes you stop and stare, and that inspires respect. Whatever the focus of the tour may be, whether it's natural creations or human works, it's worth preserving in memories. And the best way to do that is through photographs. Trust us, we know it!


