How to make a blurry photo
Published: 29.06.2021
In 2021, the demand for visual content has increased significantly. The photography business has turned into a competitive and thriving industry. If you are a beginner photographer or want to learn how to take unique photos for Instagram, check out the guide on how to create blurry photos.
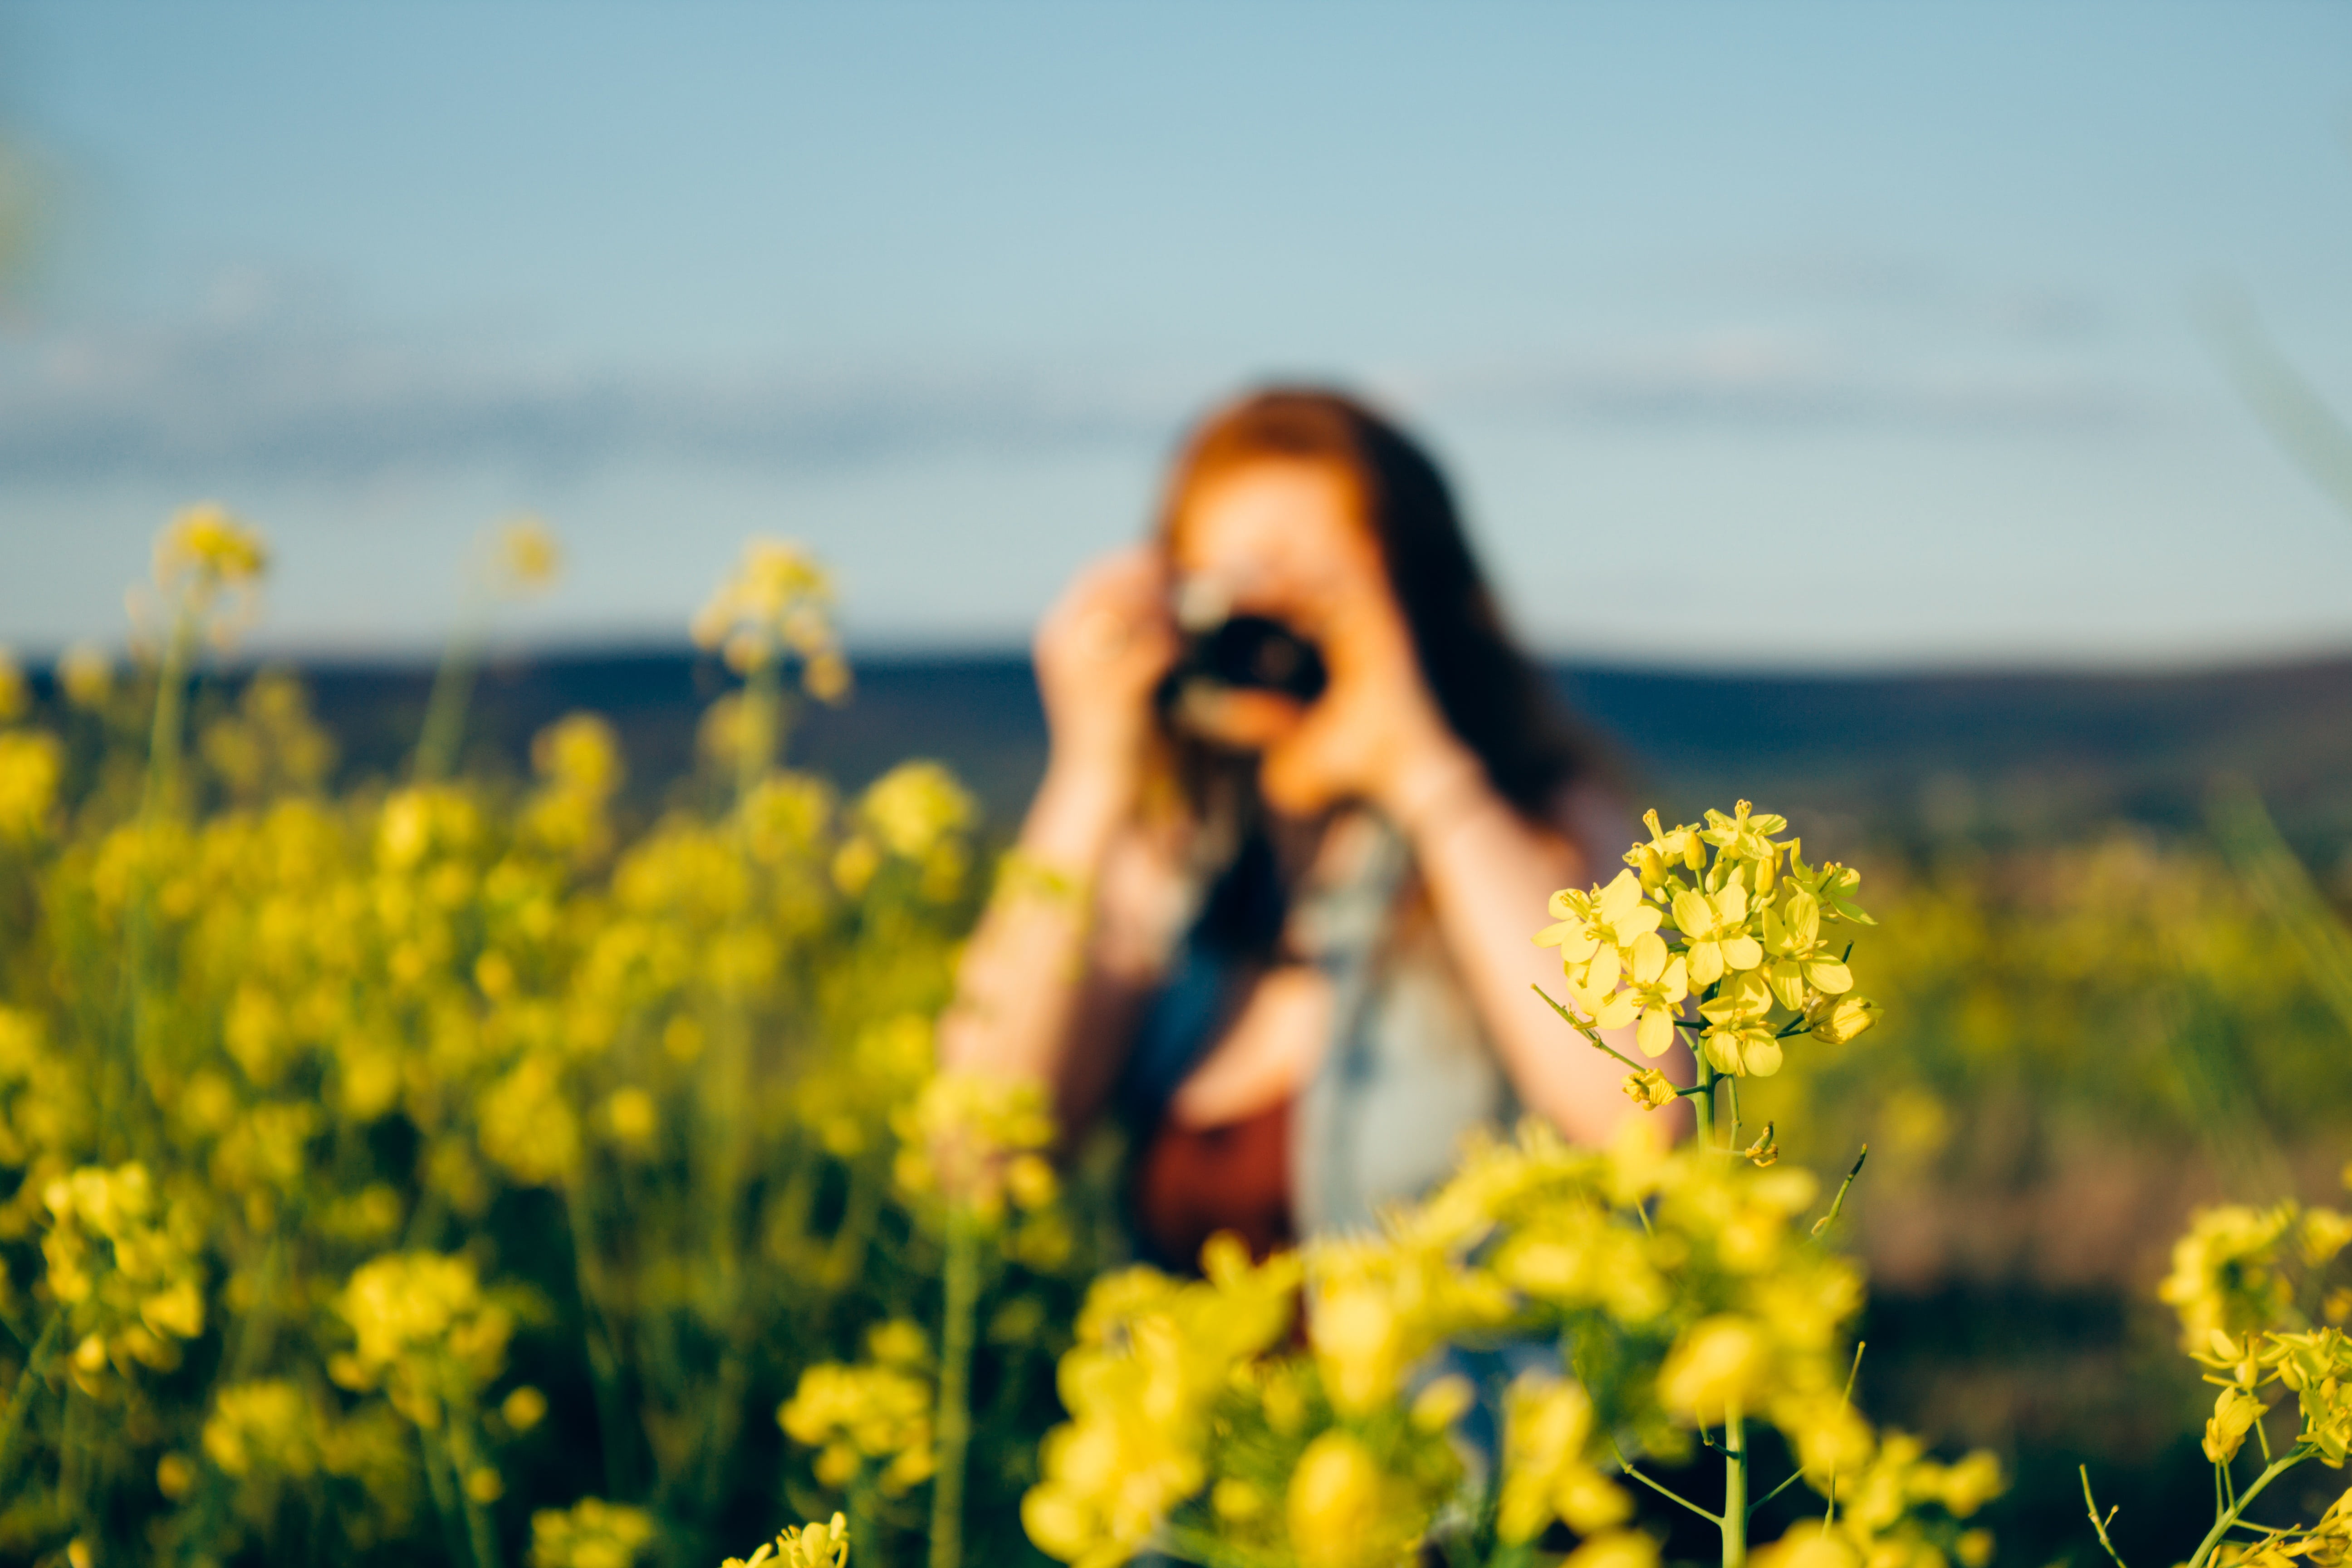
Blurry photos and shallow depth of field shots usually look more professional. Typically, this method of selective focusing is done 100% in camera, and can be achieved by selecting the right camera and lens settings, as well as determining the composition of the frame. This type of photography is known as shallow depth of field.
The main factors determining the depth of field in a photograph are the aperture, focal length, and distance. Additionally, a photographer can blur the photo during post-processing in Photoshop, but caution should be exercised when using this method to avoid the image looking obviously retouched.
How to make a blurry photo?
Depth of field is defined as the acceptable (sharp) part of the image. A photographer should know how to create a blurred photo, creating the necessary depth of field depending on the genre or the final goal of the image. For example, portraits look best with shallow depth of field (where the subject's face is the sharpest part of the image, while other elements are blurred). Landscape images look best with a large depth of field (where everything is in focus).
Images with shallow depth of field usually make the subject stand out much more against the background, and the photographer can draw attention away from objects in the background that may be distracting or unappealing.
Blurring the photo allows the use of a wide aperture. The size of the aperture is the determining factor of depth of field. A large aperture (small f-stop value, for example, f/2.0) will result in a shallower depth of field compared to a narrow aperture (for example, f/16). The aperture controls the amount of light hitting the camera sensor, so this should be taken into account when setting the correct exposure.
Using a large focal length also allows you to create blurred photos. A photo taken with a larger focal length "compresses" the subject, creating a shallow depth of field and a blurred background. A photo taken with a shorter focal length will result in most elements in the photo being in focus. Lenses with a short focal length, such as 24mm or 35mm, are ideal for large group photos where people are posing in different positions.
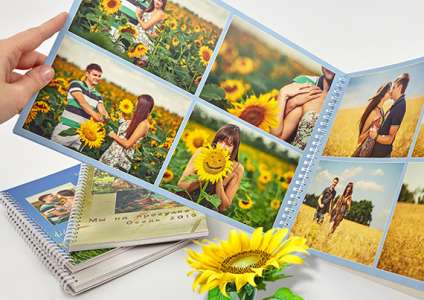
From the great photos that you will definitely get, create a Light album. You don't need to print the photos separately for this. We will print your photos directly on the pages of the Light album. Upload images to the free editor Mapi7 and create a themed Light album. You can upload photos from your phone.
How to blur a photo on iPhone?
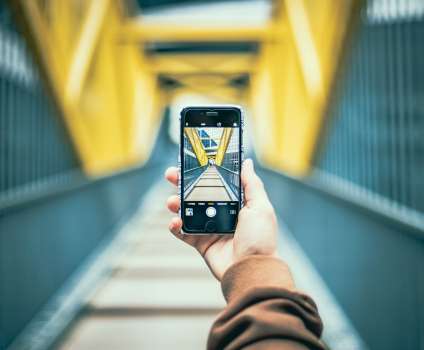
If you have an iPhone model without portrait mode, you can still achieve blurry photos on your iPhone by shooting from a close distance. Just get closer to the subject you are shooting. Before pressing the shutter button, hold your finger on the subject to activate autofocus. The closer you are to the subject, the blurrier your background will be.
Blurred photos on an iPhone can be created using apps such as Snapseed, Blur Photo Effect Background, Photo Un.blur, and others. A blurred photo app allows you to remove unwanted details, eliminate spots. These apps provide the ability to work with frames in high resolution, compress and pan frames.
To get a blurred background on a photo on an iPhone or to blur part of a photo, install one of the apps and open it on your iPhone. Then select the photo you want to work with and click on "Blur.
Use your finger to paint over the area you want to blur. You can also select 'Filter' to choose a blurring effect with different intensity and pattern. After selecting the filter, press 'Blur' to apply the new effect. When you're finished, press 'Share' to save the final image to your photo library.
Blurry photo effect - other possibilities
There are many tools that allow those who do not have a professional camera or iPhone to blur photos online for free. Online tools like imgonline.com.ua, fotor.com, and mass-images.pro do an excellent job of full, circular, and selective blurring. Mass Images includes options for advanced users - Gaussian blur, adaptive blur, and spread blur.
The free photo editor Canva, available online, on desktop, and on mobile, has many useful features. For example, you can blur the edges of a photo, remove the background, overlay layers, and add shadows.
If you are wondering how to make a blurry photo clear, try using the Fotophire Focus application. The program is available for download on Mac and Windows OS. All you need to do is get the demo version or the full version from the official Wondershare website. The interface is intuitive and the tools are easy to use, making it perfect for beginners.
You can edit a blurry photo in the mobile app Photoshop Express. This mini editor from Adobe Photoshop is a much more intuitive version of the regular Photoshop CC. The functions are somewhat limited, but basic features like blurring and sharpening photos are included. If you have never used Photoshop before, read a guide on how to blur a photo in Photoshop.
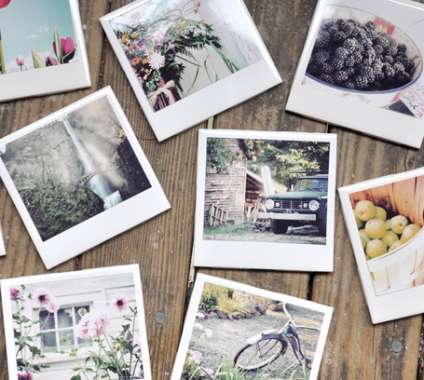
Cool photos deserve unique framing. Print your cool shots in a polaroid style. Fans of instant photography from the 90s may experience familiar feelings when holding a photo in a Polaroid style. Those who are not familiar with traditional Polaroids will appreciate the square images with space for captions.
Where to learn photography
Whether you are a beginner photographer or a professional photographer looking to build your business, you need to keep up with rapidly changing trends and new technologies that emerge every month. Our photo blog regularly publishes resources, articles, reviews, and photo stories designed to keep you informed about the latest developments in photography.
We are happy to inspire you with beautiful photos and helpful articles. Bookmark resources that will help you develop new skills.

