How to photograph infants
Published: 12.11.2019
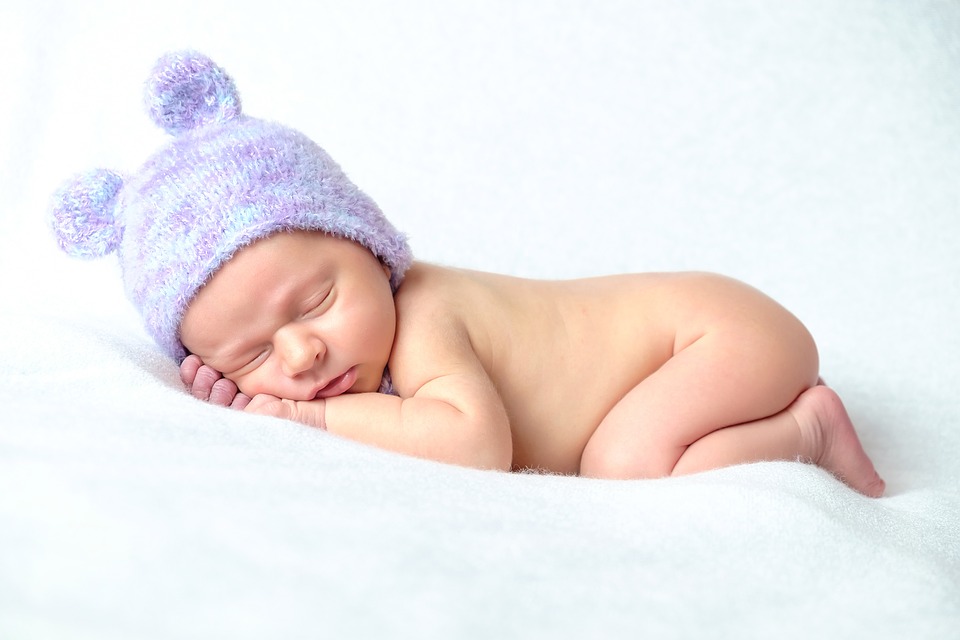
With babies, you can be sure of two things: they are chubby and they grow insanely fast. You can endlessly capture the ephemeral, heartwarming moments with newborns.
To take professional photos, you don't even need to go to an expensive photo studio.
We have gathered the best newborn photography ideas from experts and enthusiasts. By the end of this article, you will learn how to create your own photo session right at home.
Create the perfect lighting for your child
Children's photos are famous for the radiant, angelic look of the mini models. The glow is added to the little ones by natural light. Choose a room in the house where there is the most sunlight, and turn it into a children's photo studio. If you are thinking of shooting on the floor, find a window or sliding door that will allow the light to touch the floor itself.
Photographers love windows facing north because they let in indirect sunlight, which is not harsh or bright. A similar result can be achieved by waiting for the right time of day. Take photos of your child in front of a western window in the morning or an eastern window during the day, so the little one won't squint from the bright light. The best time to shoot outdoors is during the Golden Hour for photographers, which is the first hour after sunrise or two hours before sunset. The light is softer and warmer, the shadows are longer, and everything looks beautiful, especially your child.
The shooting time should correspond to the child's schedule.
Since your subject is somewhat of a diva, you should know when they feel happier during the day (perhaps after eating) and take photos at that time. Some newborns are easier to photograph while they are asleep, so try to coordinate your shoot with those hours. To avoid disturbing the newborn, you can use a heater or soothing music.
Use a simple background
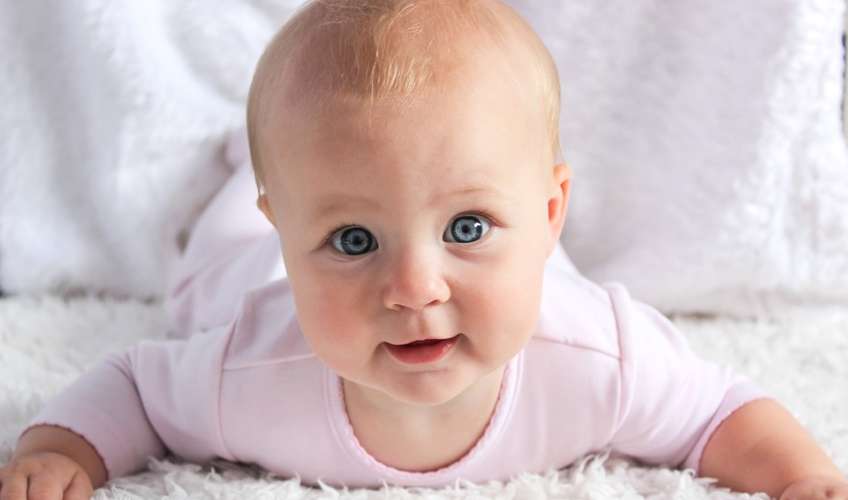
A newborn does not need a complicated background. The simpler the background, the more attention is drawn to the little human. Eliminate background clutter and place the baby in front of a simple homemade background. Throw a white sheet over a few chairs, tape a piece of plain wrapping paper to the wall, or simply place the newborn on a solid-colored fluffy blanket on the floor.
Choose a neutral background and clothing so they do not distract the viewer or the baby. Light colors, reflecting light, will help with the lighting of the image. Add visual interest by using items with texture as a base, such as a knitted blanket.
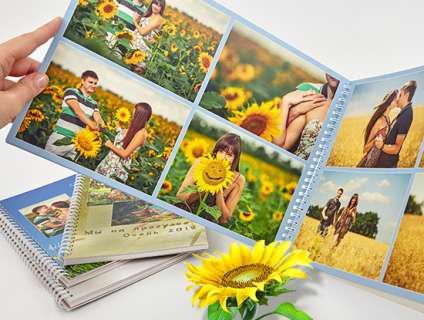
Create a Light album from cool photos. You don't need to print the photos separately. We will print your photos directly on the pages of the Light album. Upload images to the free Mapi7 editor and create a themed Light album. You can upload photos from your phone.
Be prepared for the fact that the child may be capricious.
Adjust the lighting before placing the newborn baby in the shooting area. This will save you time, as you won't need to readjust the equipment, and the baby will be happier, as they will quickly enter and exit this unfamiliar situation. Prepare spare baby outfits and props in advance in case a minor accident occurs.
Set up the camera
Set the portrait mode on the camera. This will help blur the background and smooth out skin and hair tones.
If you are using a digital SLR camera, fully open the aperture (set it to the smallest number) to achieve a soft blurred background. Pair it with a portrait lens (around 85mm). When shooting, focus on your child's eyes.
If you want to try photographing other poses, use two great options:
Ask someone to hold the baby while covering themselves with a large textured blanket.
Put the child on the pillow.
Choose a perspective
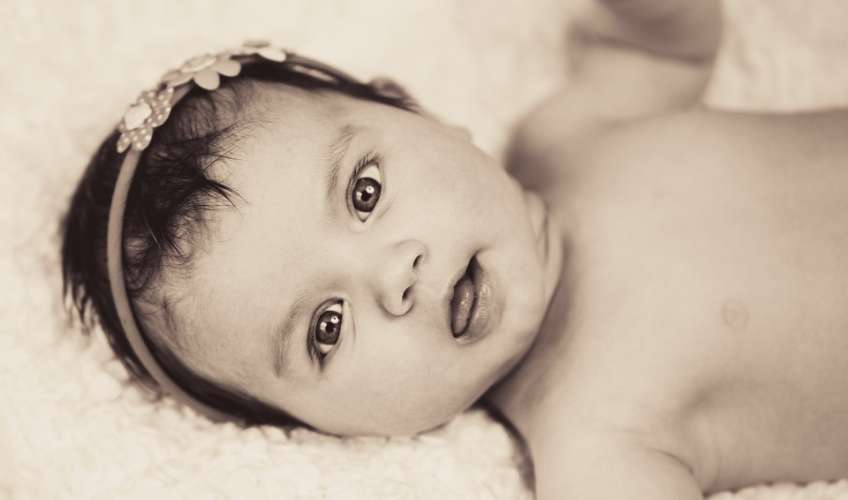
Keep the camera on a strap for safety, so it doesn't slip out of your hands and fall. Position your lens at the same level as the newborn's nose and try to establish eye contact.
Capture the details
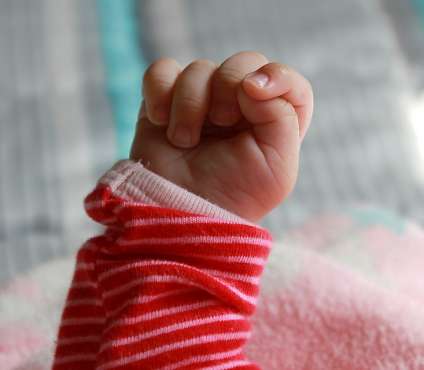
The faces of newborns deserve a huge amount of photos. But there are details that you should focus on: the curl of hair on the back of the head, the perfect tiny nails on the feet, the belly and the insanely cute belly button. Be sure to take close-up shots of these little cute body parts. Phones with cameras are usually not very good for close-ups, but even without a zoom lens, you can take photos that highlight your baby's hands, profile, nose, or first lonely tooth. Even when you have many photos of your child, you will enjoy looking back at the pictures of their sweet, beloved little fingers and curls.
Take photos of the baby by months
In the first year of life, children change very quickly. A monthly baby photoshoot in the same setting is a visual proof of the fleeting moments. Place the baby on a blanket next to a sign indicating their age (for example, "Sophia, one month"). Or place the baby next to a large soft toy that will serve as a reference for scale. Wherever you decide to take monthly photos of your child, keep the background consistent. Only the child will change in the photos.
Make friends with Photoshop
In glossy magazines, all babies look smooth and flawless. But in reality, many children are not as "perfect" as their parents might think. Little scratches, sleepy eyes, runny noses, dry milk around the mouth, blotchy skin, birthmarks, and little bumps are common for all children.
Before shooting, you will have to wipe the baby's face and body with wet wipes, however, it will not be possible to bring everything to a perfect state. And there's no need to. Scratches, sweat marks, and birthmarks show your child as they are, and there is nothing wrong with that. For special photos that you take for relatives, retouch the baby's face using Photoshop.
Similarly, you can experiment with the saturation of colors in photos. Pastel images soften visual sensations and give photographs a completely different look.
Images on smartphones and laptops do not last long. Print your photos. We offer classic chemical photo printing with a wide color gamut and smooth tonal transitions. Images look visually warmer and more vibrant.
To make a baby look adorable, all it takes is to show a toothless smile. Your task is to capture it, even if you have limited camera skills. Our tried and true methods will help you take photos like a pro. You don't need an expensive camera to get priceless photos. Grab any camera you have (even your smartphone) and capture your happiness.


