How to take photos without a tripod
Published: 26.11.2021
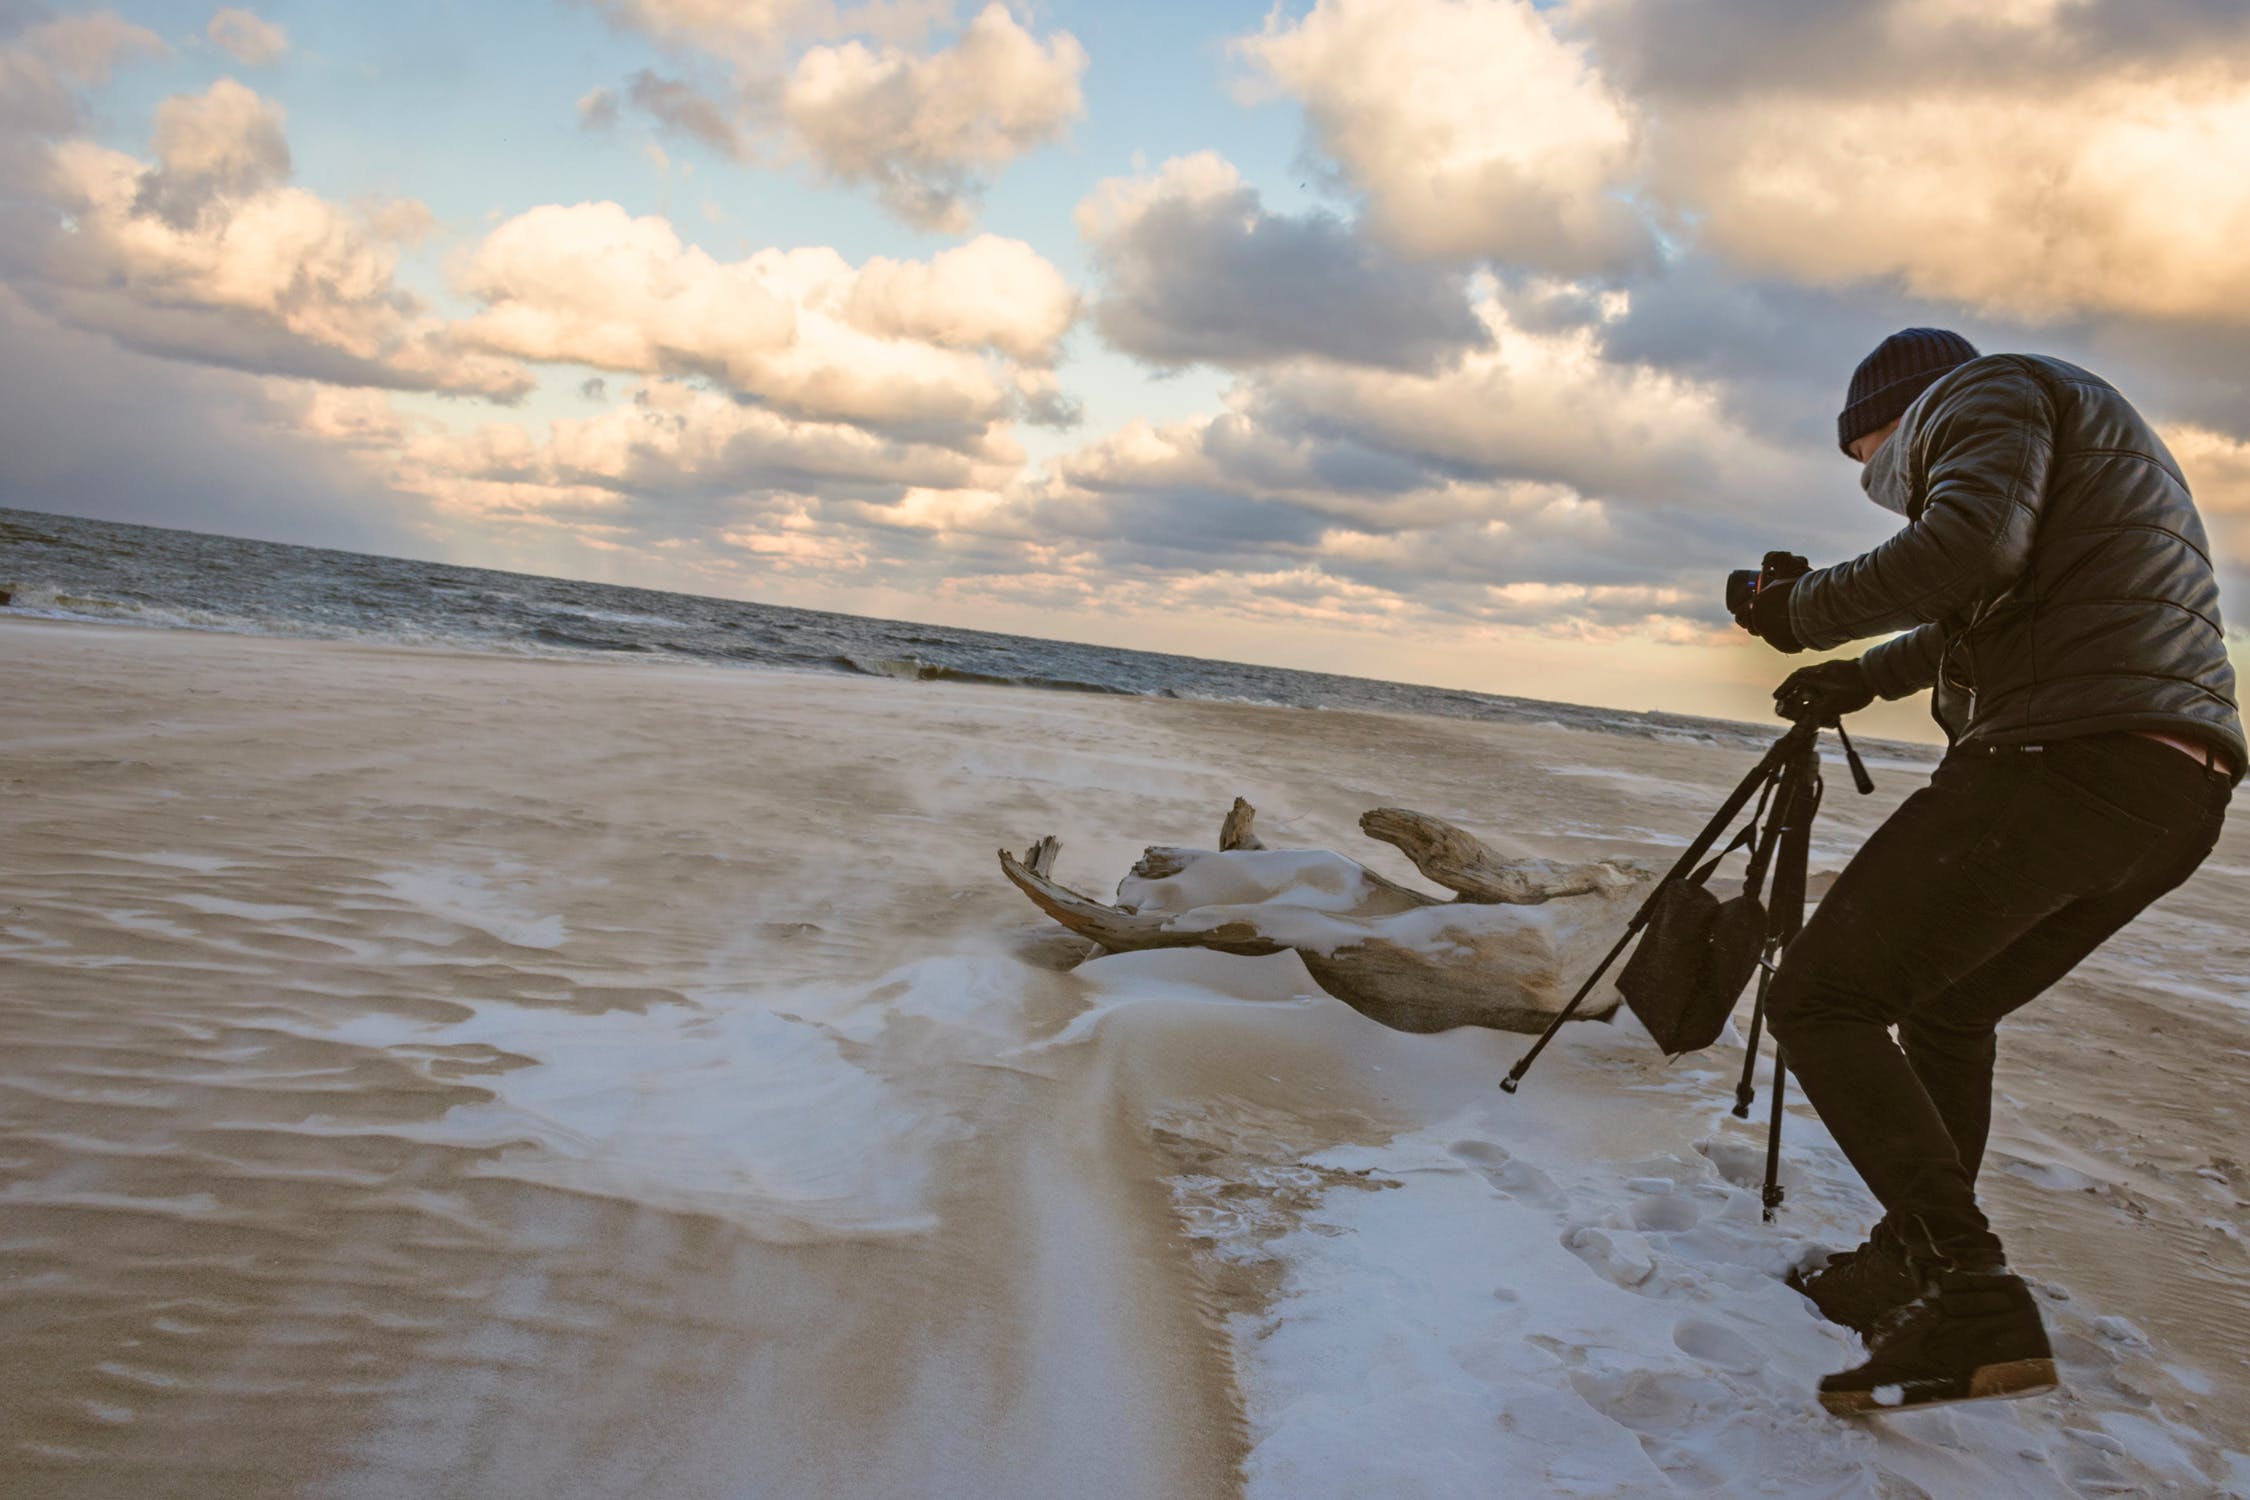
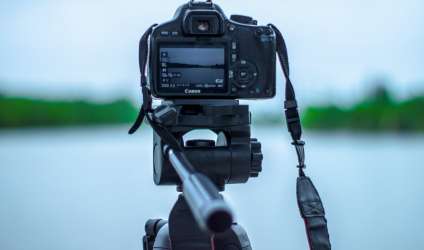
It is quite difficult to stabilize the camera and achieve a clear and sharp image without a tripod. A tripod is used for shooting with a long exposure, for creating panoramic, landscape, and macro photographs. It is difficult to shoot without a tripod in low light conditions. However, there are situations when a tripod is not available, but an interesting subject for a photo catches your eye. Also, it is not always possible to carry a tripod with you and it is not always allowed to use it everywhere. For example, photography with a tripod is prohibited in subways, museums, and industrial facilities. A good and sharp shot can be taken without the help of a tripod, using improvised means and knowing techniques to stabilize the camera. Let's consider techniques that will help you take a quality photo if you don't have a tripod at hand.
How to take a sharp photo without using a tripod
If your camera does not have an image stabilization system, use the following recommendations to take high-quality photos:
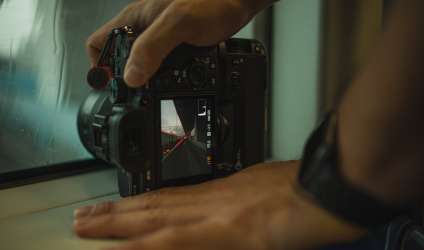
1. Use surrounding objects as support instead of a tripod. You can take great photos by placing the camera on the floor. This will give you an interesting low-angle perspective and a clear photo without blurring, allowing you to use a long exposure. You can set the camera on the floor, ground, grass, or asphalt. Before setting up the camera, make sure it won't get damaged during shooting. To protect your equipment, place clothing under the camera so that dust from the ground doesn't get inside. If you have a large lens, use a support to prevent it from falling. You can use a camera bag, a rock, a branch, or any other object as a support.
2. Use a monopod instead of a tripod. A monopod, although not providing as much stability as a tripod, weighs much less, is compact, quickly unfolds, and is easy to carry with you. With a monopod, you can achieve a shutter speed three times longer than when shooting handheld, resulting in a clearer and sharper image. To maximize the stability of the camera when using a monopod, lean against a wall, fence, tree, or any other solid surface to increase the points of support and improve camera stabilization.
3. Carry a small rope with you to secure the camera. Put a 2-3 meter long rope in the camera case, it won't take up much space but will help secure the camera. Make a loop out of the rope and put it over the camera lens at its base. Step on the other end of the rope and pull it tight. Using this simple method will help you avoid vertical camera shake. Do not pull the rope too tight to avoid damaging the lens.
5. Correctly adjust the flash settings. To reduce the number of ruined photos, set the flash to fire on the second (rear) curtain. This will help make clearer photos with a long exposure in low light conditions. This technique will be especially useful when shooting at night or in the evening. It is also necessary to select a high ISO value and a high shutter speed.
When taking photos without using a tripod, it is important to adopt a comfortable position and hold the camera correctly to prevent shaky hands from affecting the quality of the photos. We recommend using the following tips when shooting handheld:
- Assume the most stable position possible. The lower your center of gravity, the more stable and steady your position will be, making it easier to hold the camera. The most comfortable position for handheld shooting is sitting with your arm resting on your knee. Instead of your knee, you can use any other support - a pole, a tree branch, the key is to hold the camera as confidently as possible and minimize hand shake.
- If you need to take a photo while standing, place your feet shoulder-width apart and shift your body weight to the front leg. If the weight is on the back leg, your stability will be worse.
- When shooting with a large lens, hold the camera with one hand and the lens with the other hand to achieve better stabilization of the frame.
- Press your elbows against your body, this way you will have support and be able to hold the camera more confidently.
- Find a point of support and try to maintain good posture. A straight back positively affects the quality of photos. When you align yourself, your body position becomes more correct and it is easier to hold the camera.
You can use a remote control to take photos without using a tripod. Some photographers prefer to take multiple shots and then choose the best and sharpest photos. Minor flaws in photos can be corrected in graphic editors. There are many ways to take high-quality photos without using a tripod. But if you have the opportunity to use a tripod, take advantage of it, as it will save you from a lot of stability and camera stabilization issues. The best photos taken with and without a tripod can be preserved by ordering a photo book or a Light album.
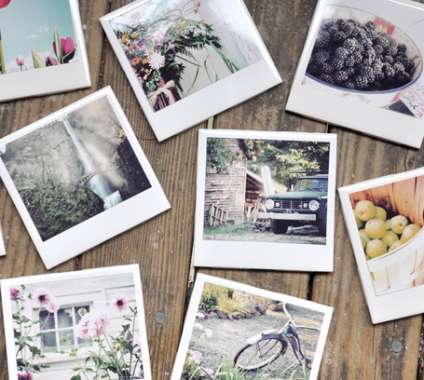
Cool photos deserve unique framing. Print your cool shots in a polaroid style. Fans of instant photography from the 90s can experience familiar feelings by holding a polaroid-style photo in their hands. For those unfamiliar with traditional polaroids, square images with space for captions will be appealing.

