Photo album by hand
Published: 27.07.2021
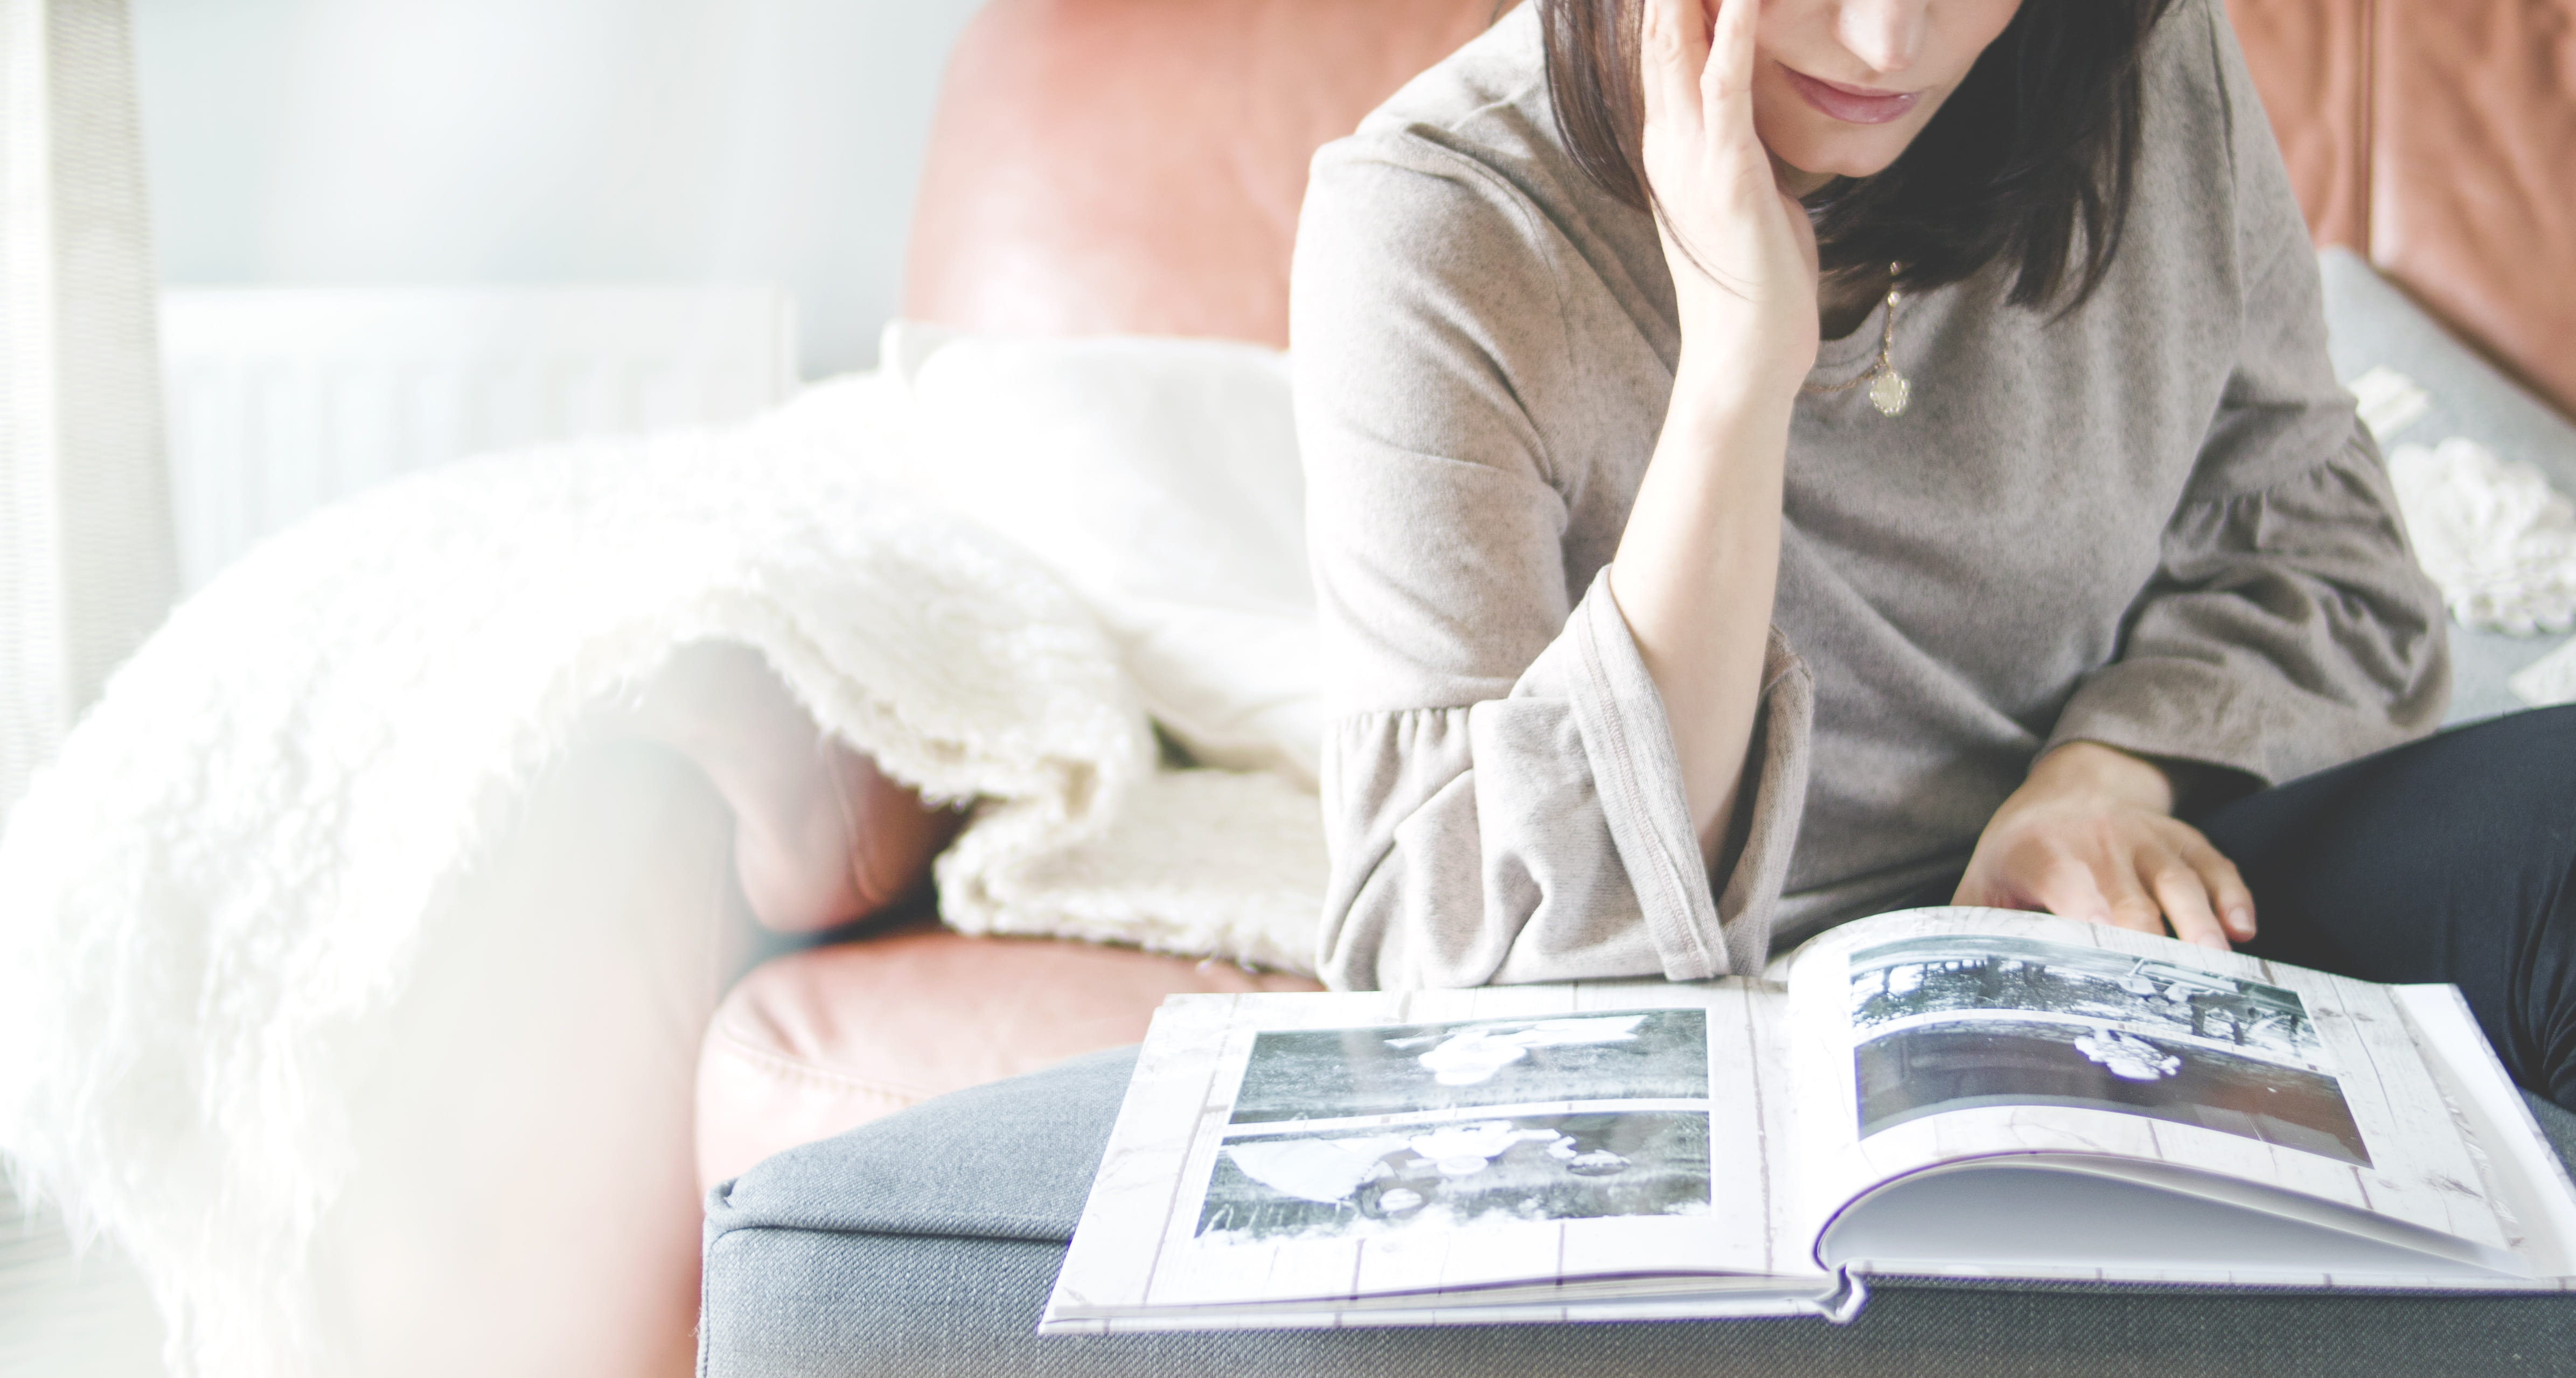
Have you ever lost precious photos when your phone or laptop broke down? In the era of digital photography, many images remain stored in the memory of electronic devices and cloud storage forever. Most of us rarely revisit such pictures. The best way to bring memories back to life is to turn them from digital files into actual photographs and photo albums. Creating a photo album or photobook is easy, and the result is always unique and irreplaceable.
Ready-made photo album vs handmade
The main drawback of ready-made photo albums is their template nature, as the manufacturer cannot take into account your individuality. Most likely, the photos will all be the same size. In some ready-made options, you can add a short caption with the date of the photo shoot. But, you will agree, that is not enough.
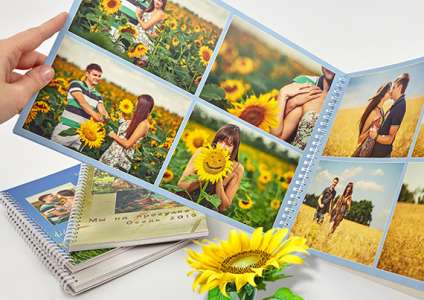
The second option is to create a photo book from files in a studio. To do this, you need to choose a simple template and cover, upload digital photos in high resolution, and order the printing of your album. The finished photo book printed on quality paper will be in your hands within 2-3 days after placing the order.
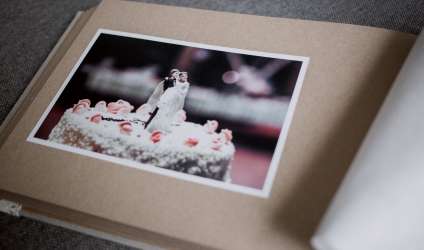
The last option is for those who love to craft handmade items. Creating a family or personal photo album by hand can be a wonderful idea for a cozy evening with loved ones. If you are making a gift for a loved one, follow a step-by-step guide on how to make the best album for beginners that no one else will have. Nothing supernatural, just affordable materials, beautiful photos, and your imagination.
From the cool photos you will definitely get, create a Light album. You don't need to print the photos separately. We will print your photos directly on the pages of the Light album. Upload images to the free editor Mapi7 and create a thematic Light album. You can upload photos from your phone.
How to make an album by yourself - step-by-step instructions for beginners
A wedding, birthday, graduation, or trip will be remembered for a long time if you preserve atmospheric photos from these events in a homemade photo album. The main rule is that your photo album should not only be beautiful but also convenient. An inexpensive and fun craft will make a worthy gift for your loved ones and will evoke admiration. Regardless of the method of decoration, here are a few basic principles that are the foundation of creating beautiful photo albums:
- Choose an interesting topic.
- The text matters.
- Choose the best shots.
- Choose quality over quantity.
- The best is the enemy of good.
Leave space for 'margin notes'. It could be a reminder of the date, location, or a short story related to this picture. In a few years, the details will fade from memory, and you will enjoy recalling interesting facts thanks to the comments.
It is better to spend time editing photos before printing them, rather than being disappointed with the result. Light, brightness, and contrast are extremely important, and you can adjust them manually or automatically in Lightroom or Photoshop. Crop the photo to create a beautiful composition, and don't forget to straighten the horizon!
Do not strive to make the photo album perfect by constantly changing it. One thing that should not be skimped on is the quality of the prints themselves. As for the cover and inner pages, they should fulfill the main function of bringing together your best moments.
Scrapbooking album
There are several simple techniques on how to make a photo album that are suitable for beginners. Almost everyone collected cutouts from magazines in their childhood. Girls collected photos from fashion magazines, boys - photos of cars, superheroes, and athletes. This is scrapbooking! Today, pasting cutouts on paper has ceased to be a fun children's hobby. The industry offers a variety of craft cardstock, acid-free glues, brushes, beads, and ribbons to decorate homemade cards, albums, and other works. Visit your nearest craft store and you will find plenty of inspiring items for creating an album.
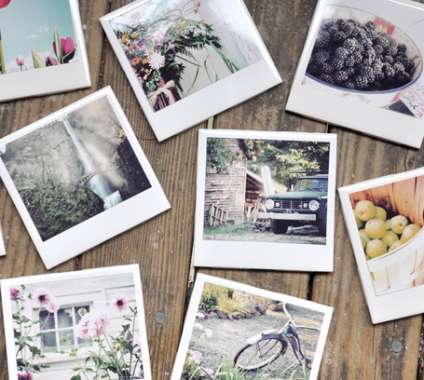
Cool photos deserve unique framing. Print your cool shots in a Polaroid style. Fans of instant photography from the 90s may experience familiar feelings holding a Polaroid-style photo in their hands. For those unfamiliar with traditional Polaroids, square images with space for captions will be appealing.
If you don't know how to make an album and where to start, here are a few tips:
- Decide on the format - whether it will be a large A4 album or a mini A5 album. The size of the chosen paper depends on this.
- Think about how many pages will be in the album. If it's a mini-album, 6-8 photos sized 10x15cm will be enough. You can fit one or two photos per spread. Take 3 A4 sheets and cut them in half.
- You can beautifully sew an album using silk ribbon threaded through the holes - this is a great option that helps save time.
- To make a durable and wear-resistant cover, choose a binding made of high-density cardboard. You can decorate it as you like - with colorful ribbons, decorative flowers, rhinestones. Experienced scrapbookers make fabric covers and add closures.
- If additional decoration is planned on the inner pages, it is worth sticking it after the photographs.
- When all the pages and cover are assembled, all that's left is to thread the rings or ribbons, securing your album.
A handmade album is a unique work of art in which you can put your heart and soul. When children grow up, you will enjoy looking through a childhood album with the first steps of your little one. An album with the best photos for a milestone, Mother's Day, or a family celebration will make a great gift.

