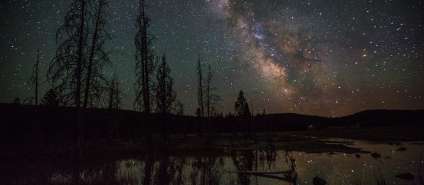
What to know when shooting the starry sky and night photography
Published: 11.02.2020
Discover the magic of the night sky in photography. Patience and our tips will help you capture great photos. You will learn how to photograph the starry sky and what you need to know for night shooting.
Night sky photography is popular. Instagram is full of cool shots of starry skies. Landscapes with thousands of stars make you want to grab a camera and go outside. But attempts to photograph a starry sky often result in completely dark shots. Don't give up on shooting the night sky after the first failure. Shooting at night is much easier than you think.
A camera that allows you to adjust ISO, aperture, and shutter speed can produce decent results. However, for shooting something like the Milky Way, you will need a compact camera with a one-inch sensor or a DSLR.
Train at home. Turn off the lights. Set up the camera and take photos.
Create a Light album from cool photos. You don't need to print the photos separately. We will print your photos directly on the pages of the Light album. Upload your images to the free editor Mapi7 and create a themed Light album. You can upload photos from your phone.
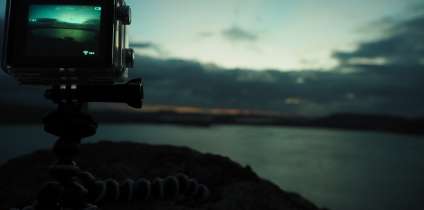
A sturdy tripod will help to stabilize the camera for long exposure shots. If your camera cannot be set to take a picture with a delay of several seconds, bring a remote shutter release cable with you. Take a flashlight with a red light mode. It will help you see the scene.
Location of shooting
Great star photos require two conditions: darkness and a clear sky.
The urban sky is a mix of natural and artificial light. Such images are valuable for their novelty. But creating them is much more difficult.
So go where there are no people. Find a place far away from artificial light. An online light pollution map will help you in finding dark places.
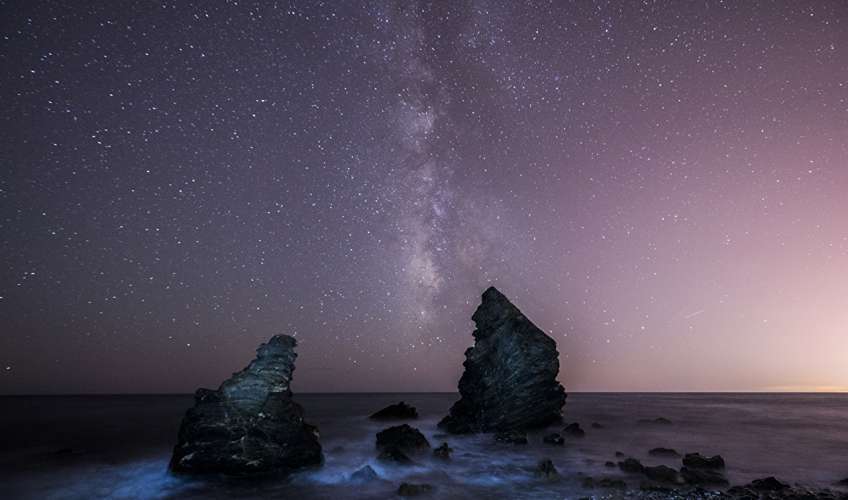
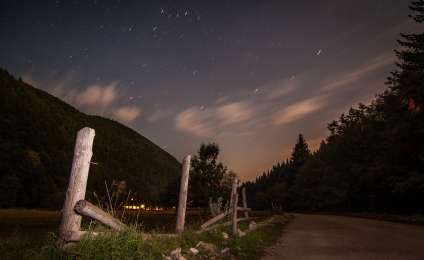
The right place at the right time is only half the battle. Think about composition. Look for a foreground. Bet on unpredictability. Try to arouse interest. It could be a tree or an old barn. Or a lake reflecting the light of the stars.
It is important to arrive at the shooting location an hour before sunset. Explore the place. Choose your angle. Be patient and start shooting the night sky an hour after sunset.
Shooting time
Moonlight can be both a friend and an enemy to photography. With bright moonlight, the night sky resembles the day, and stars are not visible at all.
Take into account the phases of the Moon. When it rises. When it sets. At what angle it moves across the sky. Use this knowledge when planning a large landscape scene.
The best time for night photography is about a week before the new moon or a few days after.
Learn what astronomers know by heart. In the northern hemisphere, the Milky Way is particularly active from June to October. During this period, a bright section is visible above the horizon. In winter, it never crosses the horizon because it lies perpendicular to it.
Camera settings
The task of night shooting is to let as much light as possible through the camera lens. To achieve this, use a wide lens. It is easy to do this with an f/4 aperture. However, many cameras have lenses with apertures of f/2.8 and lower.
Switch the camera to manual mode. Set the white balance to daylight or adjust it manually. Forget about automatic white balance. It distorts the night sky by flooding the frame with orange color. Take photos in RAW format. This will make post-processing easier if needed.
Point the camera towards the clear sky and try the following settings: aperture f/2.8, ISO - 800, shutter speed - 25s. Zoom in on the screen and check the sharpness of the stars. Adjust the focus ring if needed. Keep taking photos and remember to review the shots. You might accidentally shift the focus.
The darker the location, the brighter celestial bodies appear in photographs.
Favorite pictures are a reason to create photo magnets. Round magnets, square magnets, magnets with shaped edges, or magnetic puzzles - the perfect souvenir. They don't need a shelf or album. Refrigerators, computer cases, cars, and other surfaces that are always in sight are the ideal place for magnetic photos.
A short exposure in a photo will show stars as dots. If you increase the exposure time, you will get star trails. To determine the exposure time at which the stars will leave a trail in the photo, use the "600 rule". Divide the number 600 by the equivalent focal length of your lens. The result will be the exposure time in seconds.
For example, for a 16mm fish-eye lens, the exposure will be 37 seconds, and for a wide-angle 18mm lens, no more than 20 seconds.
When you get more comfortable, start experimenting with ISO 1600 and higher. However, if there is artificial light nearby, a high ISO value will result in a lot of noise.
More about focusing
It is not possible to automatically focus on the dark sky. The viewfinder will not help with this task. Therefore, disable autofocus.
Find celestial bodies on the horizon. Set the focus manually. Take a couple of shots and adjust the focus for sharpness.
If there is a close-up shot, focus on it.
Use a flashlight to illuminate the foreground.
The sharpness of the photo is enhanced by focusing on infinity. There is a symbol "∞" on the lenses. Adjust the lens to this mark and see how sharp the image will come out.
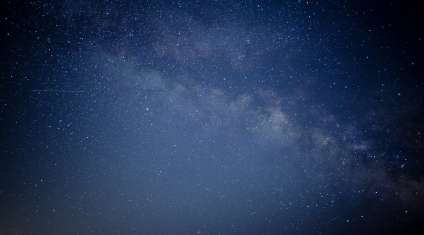
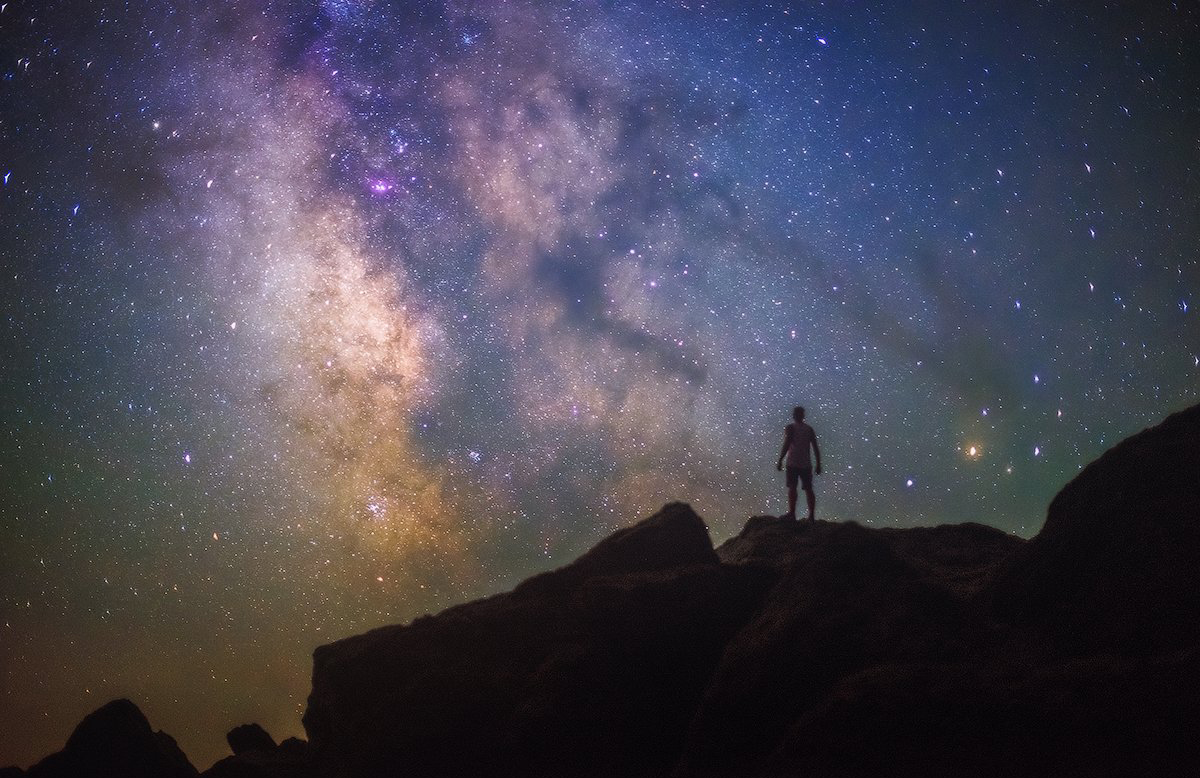
The Milky Way.City dwellers are deprived of the opportunity to enjoy the beauty of the spiral galaxy. Give them some cool photos of the Milky Way. Go far outside the city, where there is no light pollution. The Milky Way must be seen and captured.
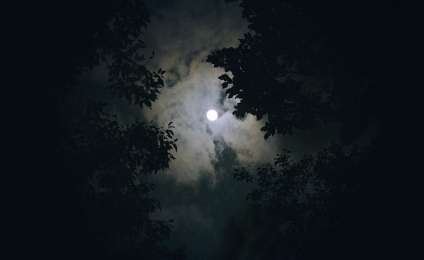
Moon.When there are clouds in the sky, you can get great pictures of the moon. In urban conditions, the moon is a good subject for shooting. It shines through the clouds and even slight pollution doesn't prevent the photos from looking stunning.
Silhouettes.This is another object for shooting in the city. The silhouette is striking. Even if you are stuck near light pollution. The faintness of the stars in the background gives a special charm to the photos.
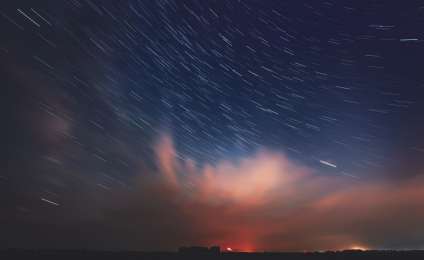
Starry paths.Long exposure results in streaks of light in the photo instead of stars. The traces of stars are the result of the Earth's rotation. Photographing star trails is not easy. But they add movement and energy to the photos.
Reflection.Two skies in one photo - that's cool. Find a body of water. Smooth and calm.
The reflection of stars in the water creates magical images. A polarizing filter removes glare and reveals the bottom of the reservoir. A long exposure adds a misty effect to the photo.
A masterpiece can be made even from an ordinary puddle.
Shooting in the dark can seem like a daunting task. Our tips will help you gain confidence and achieve great results. The darkness and distant stars are ready to become the heroes of your photos. Grab your camera and head outside. Just make sure to dress warmly))

